Configure AxAuth IDP for End-User Applications
Introduction
The AxAuth IDP is a managed ID Provider supported by Mosaic User Service. AxAuth serves the special purpose of maintaining a standalone user store for an end-user application. If the end-user application intends to give a user sign up feature, in addition to enabling authentication from known IDPs, the developers can use AxAuth to deliver this functionality.
This article describes how a User Store in AxAuth can be configured to be used in the User Service.
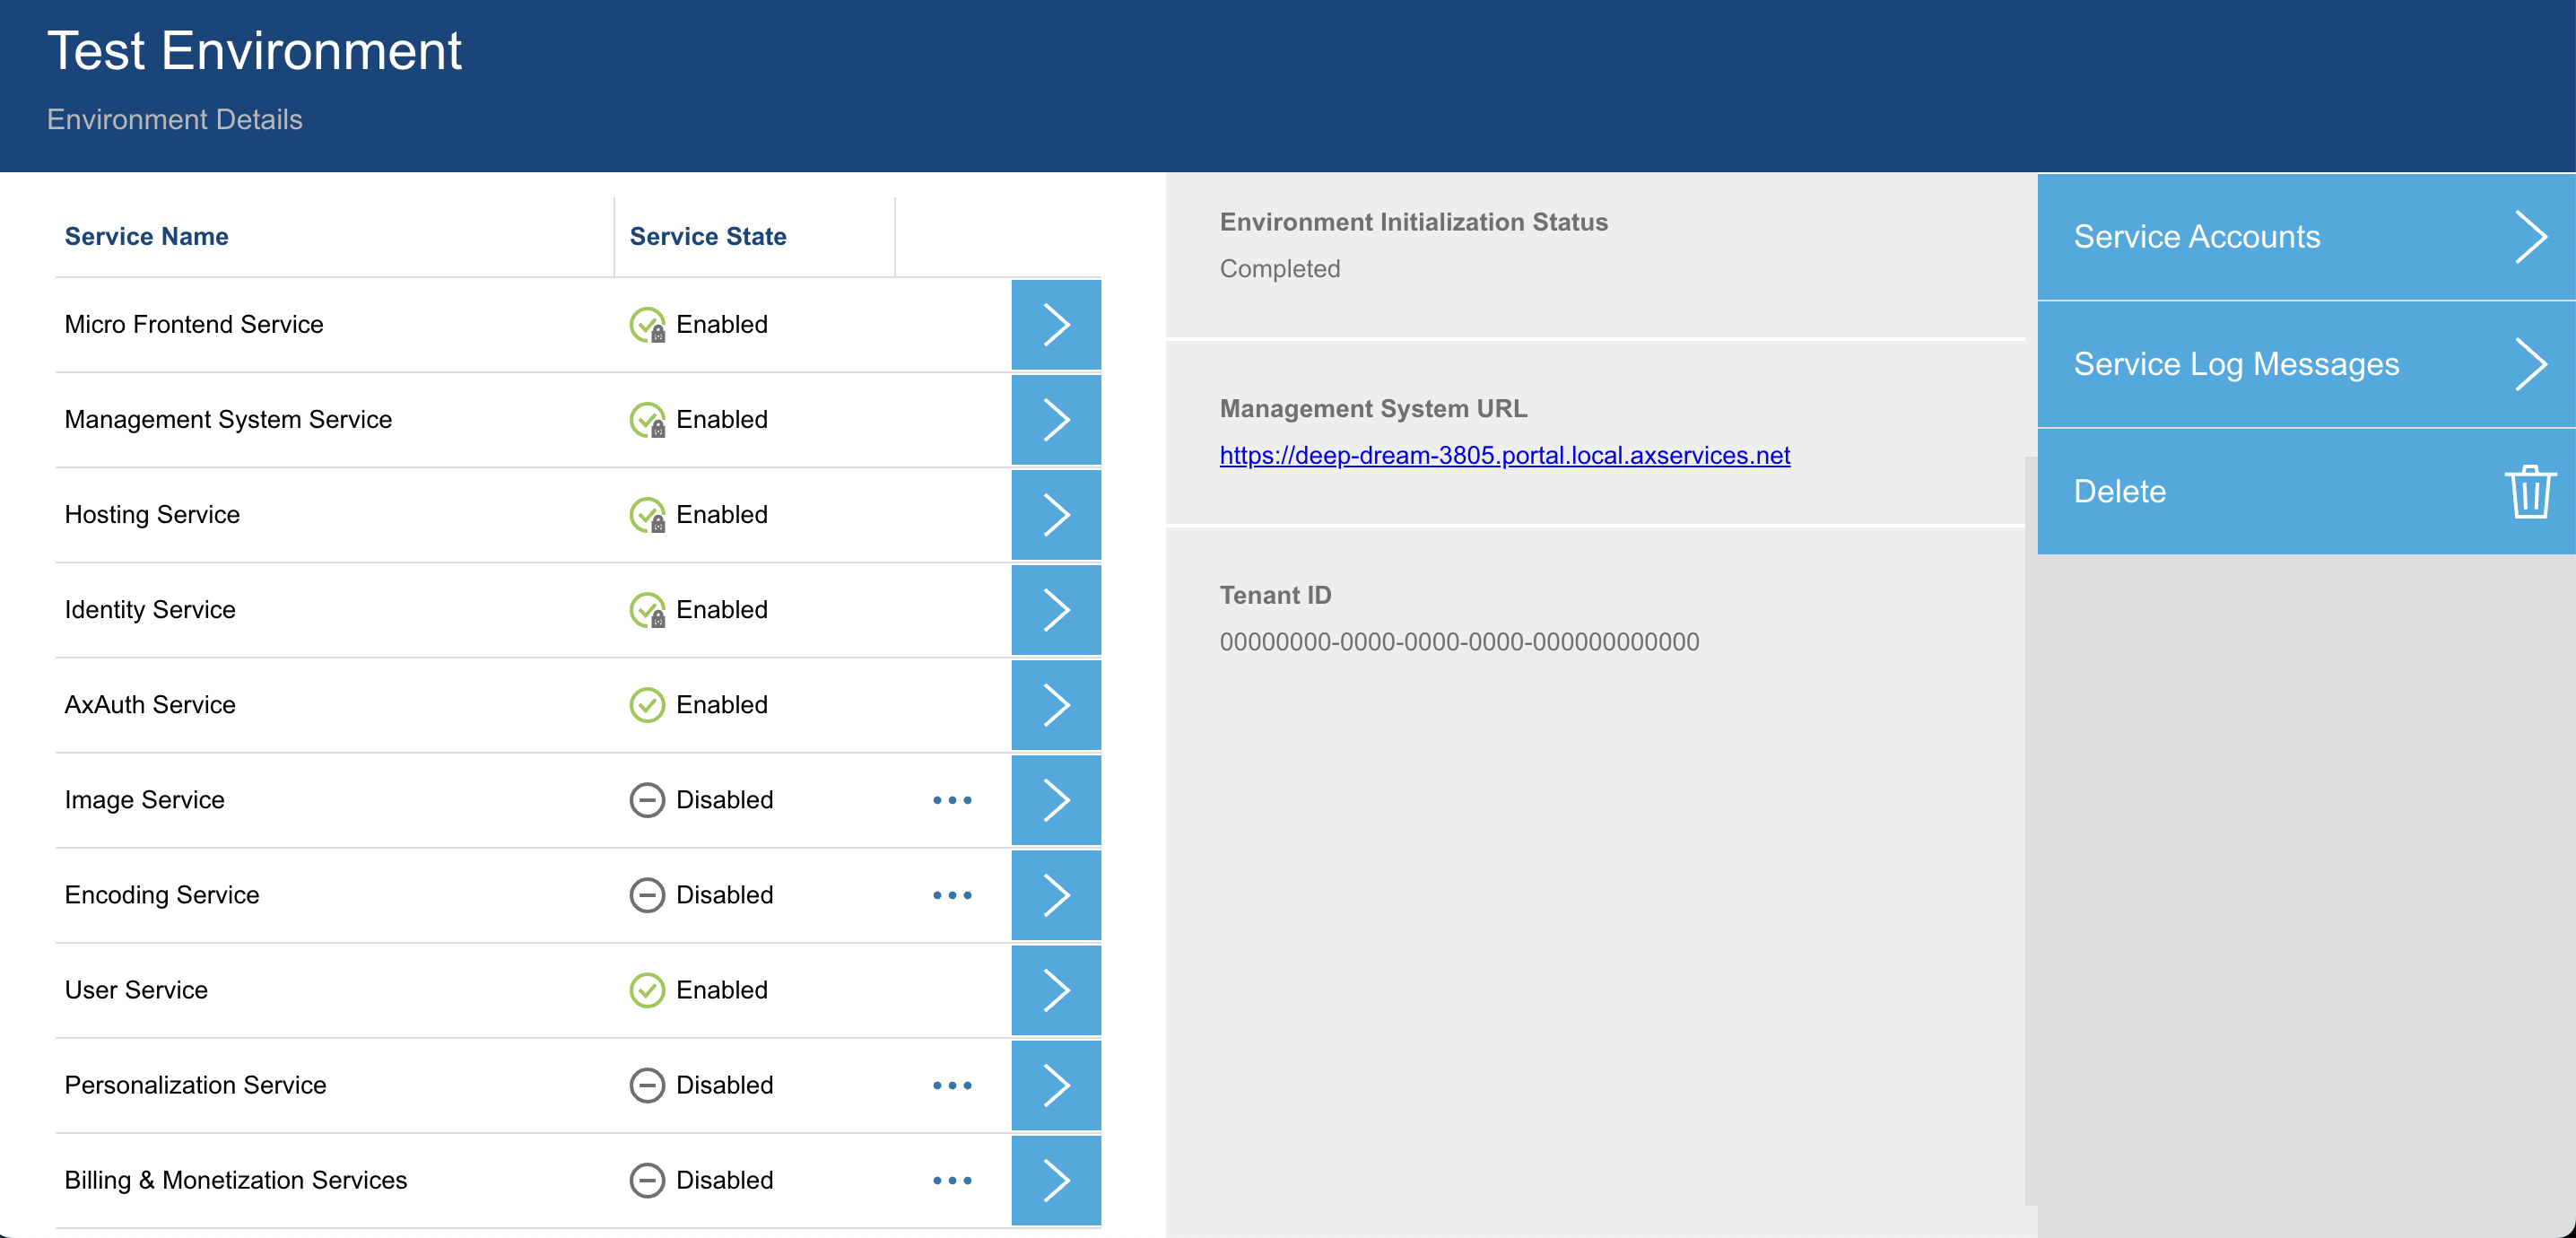
Enabling required services
Configuring AxAuth IDP for end-user application user management requires the Mosaic environment to have both AxAuth and User services enabled.
Configuring an AxAuth User Store
After the environment has AxAuth service enabled, User Stores can be configured
in the AxAuth Service configuration station of the environment.
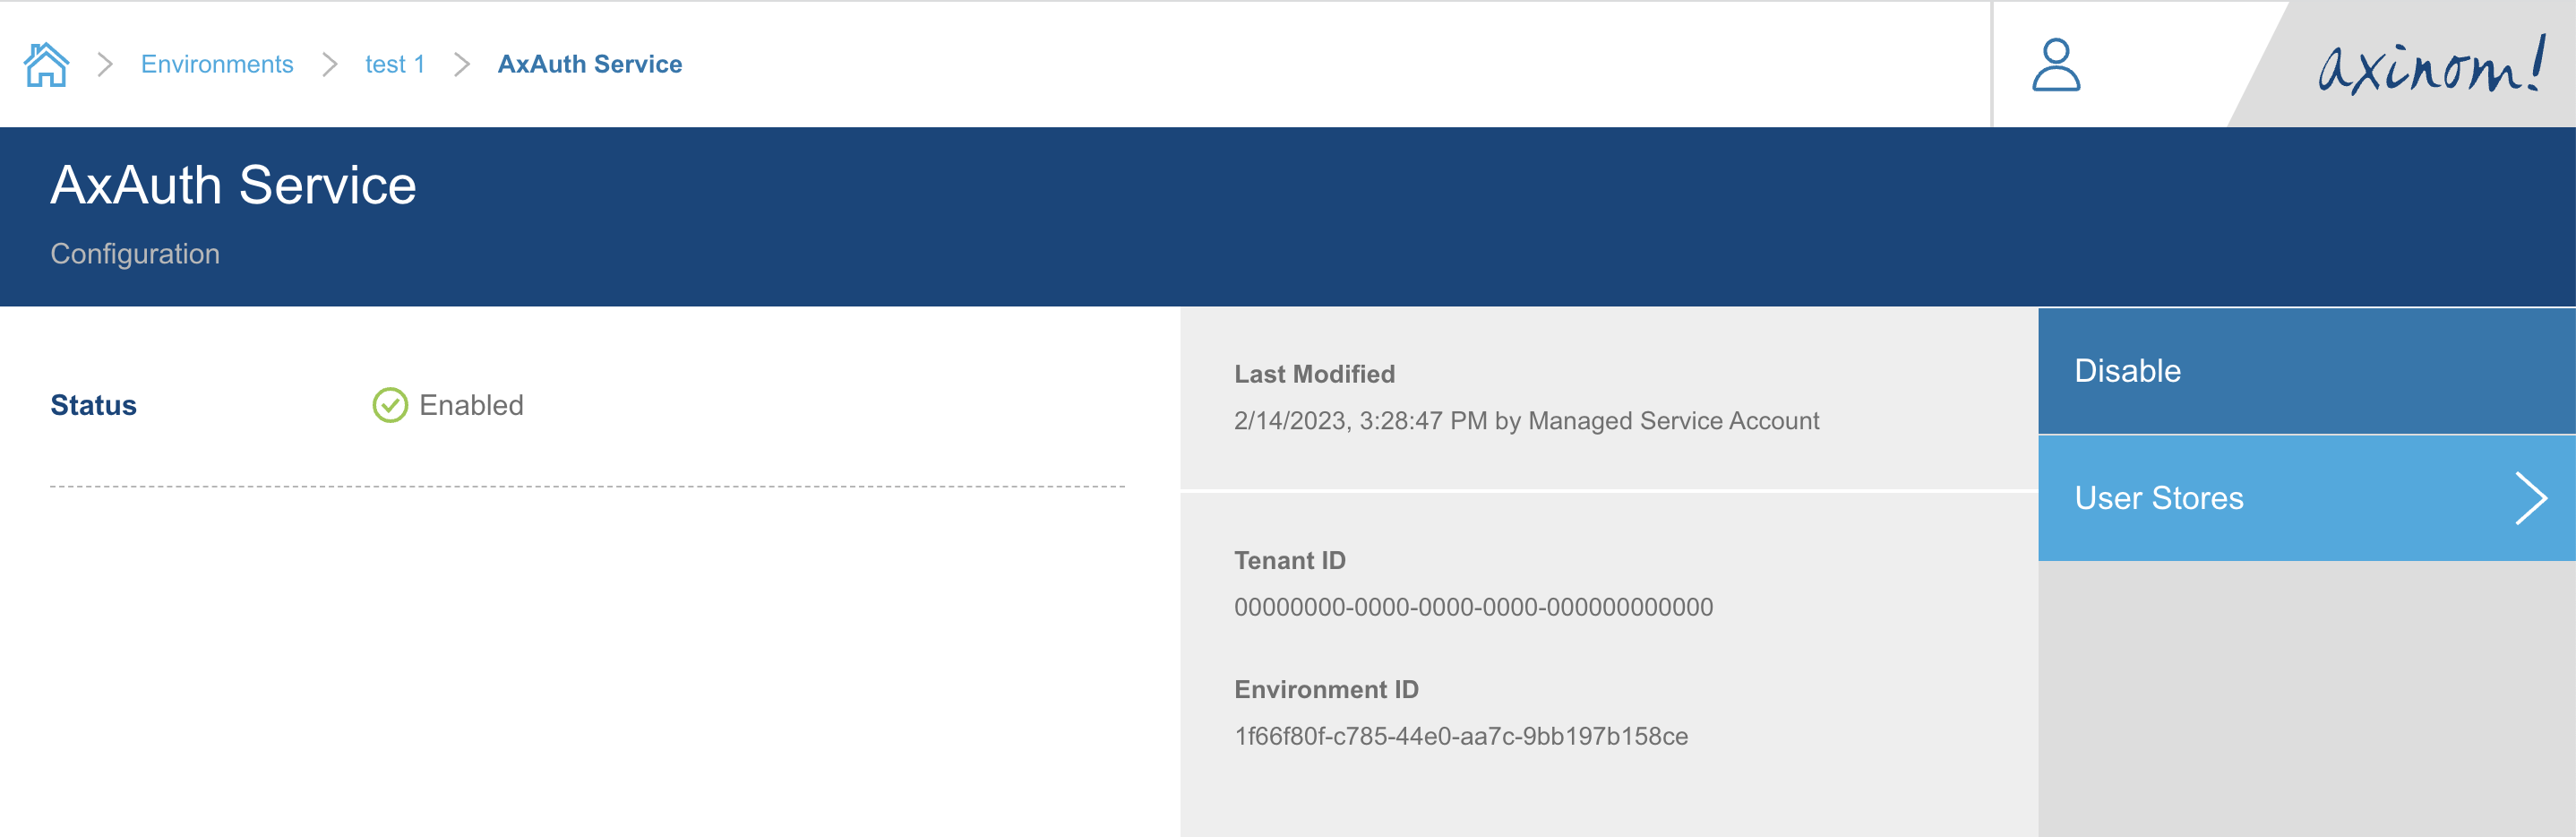
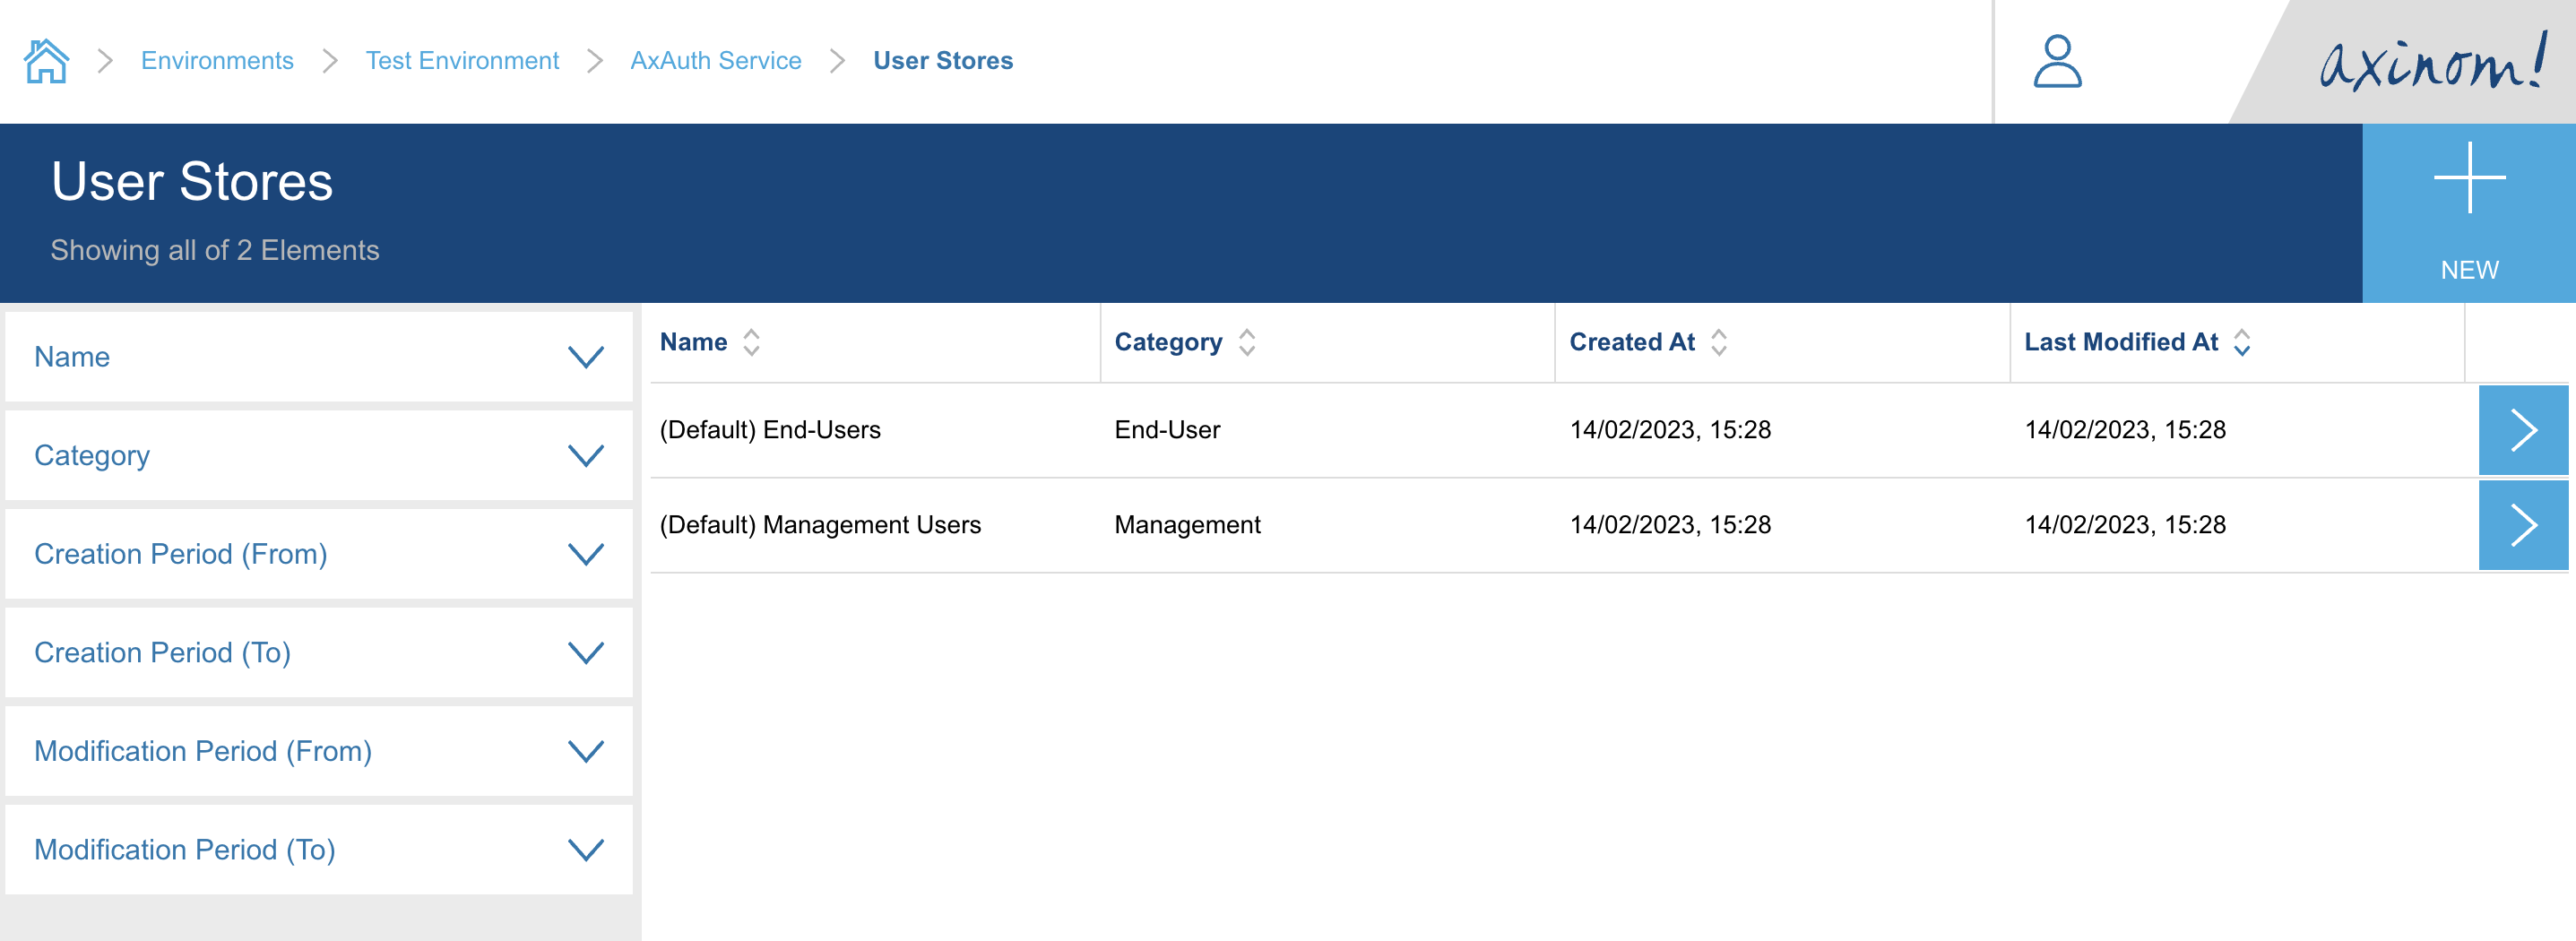
Click on User Stores button. It will navigate you to the User Stores explorer
station. There will be two (Default) User Stores already created during the service
enabling operation. We can select the (Default) End-Users store and go to details of it.
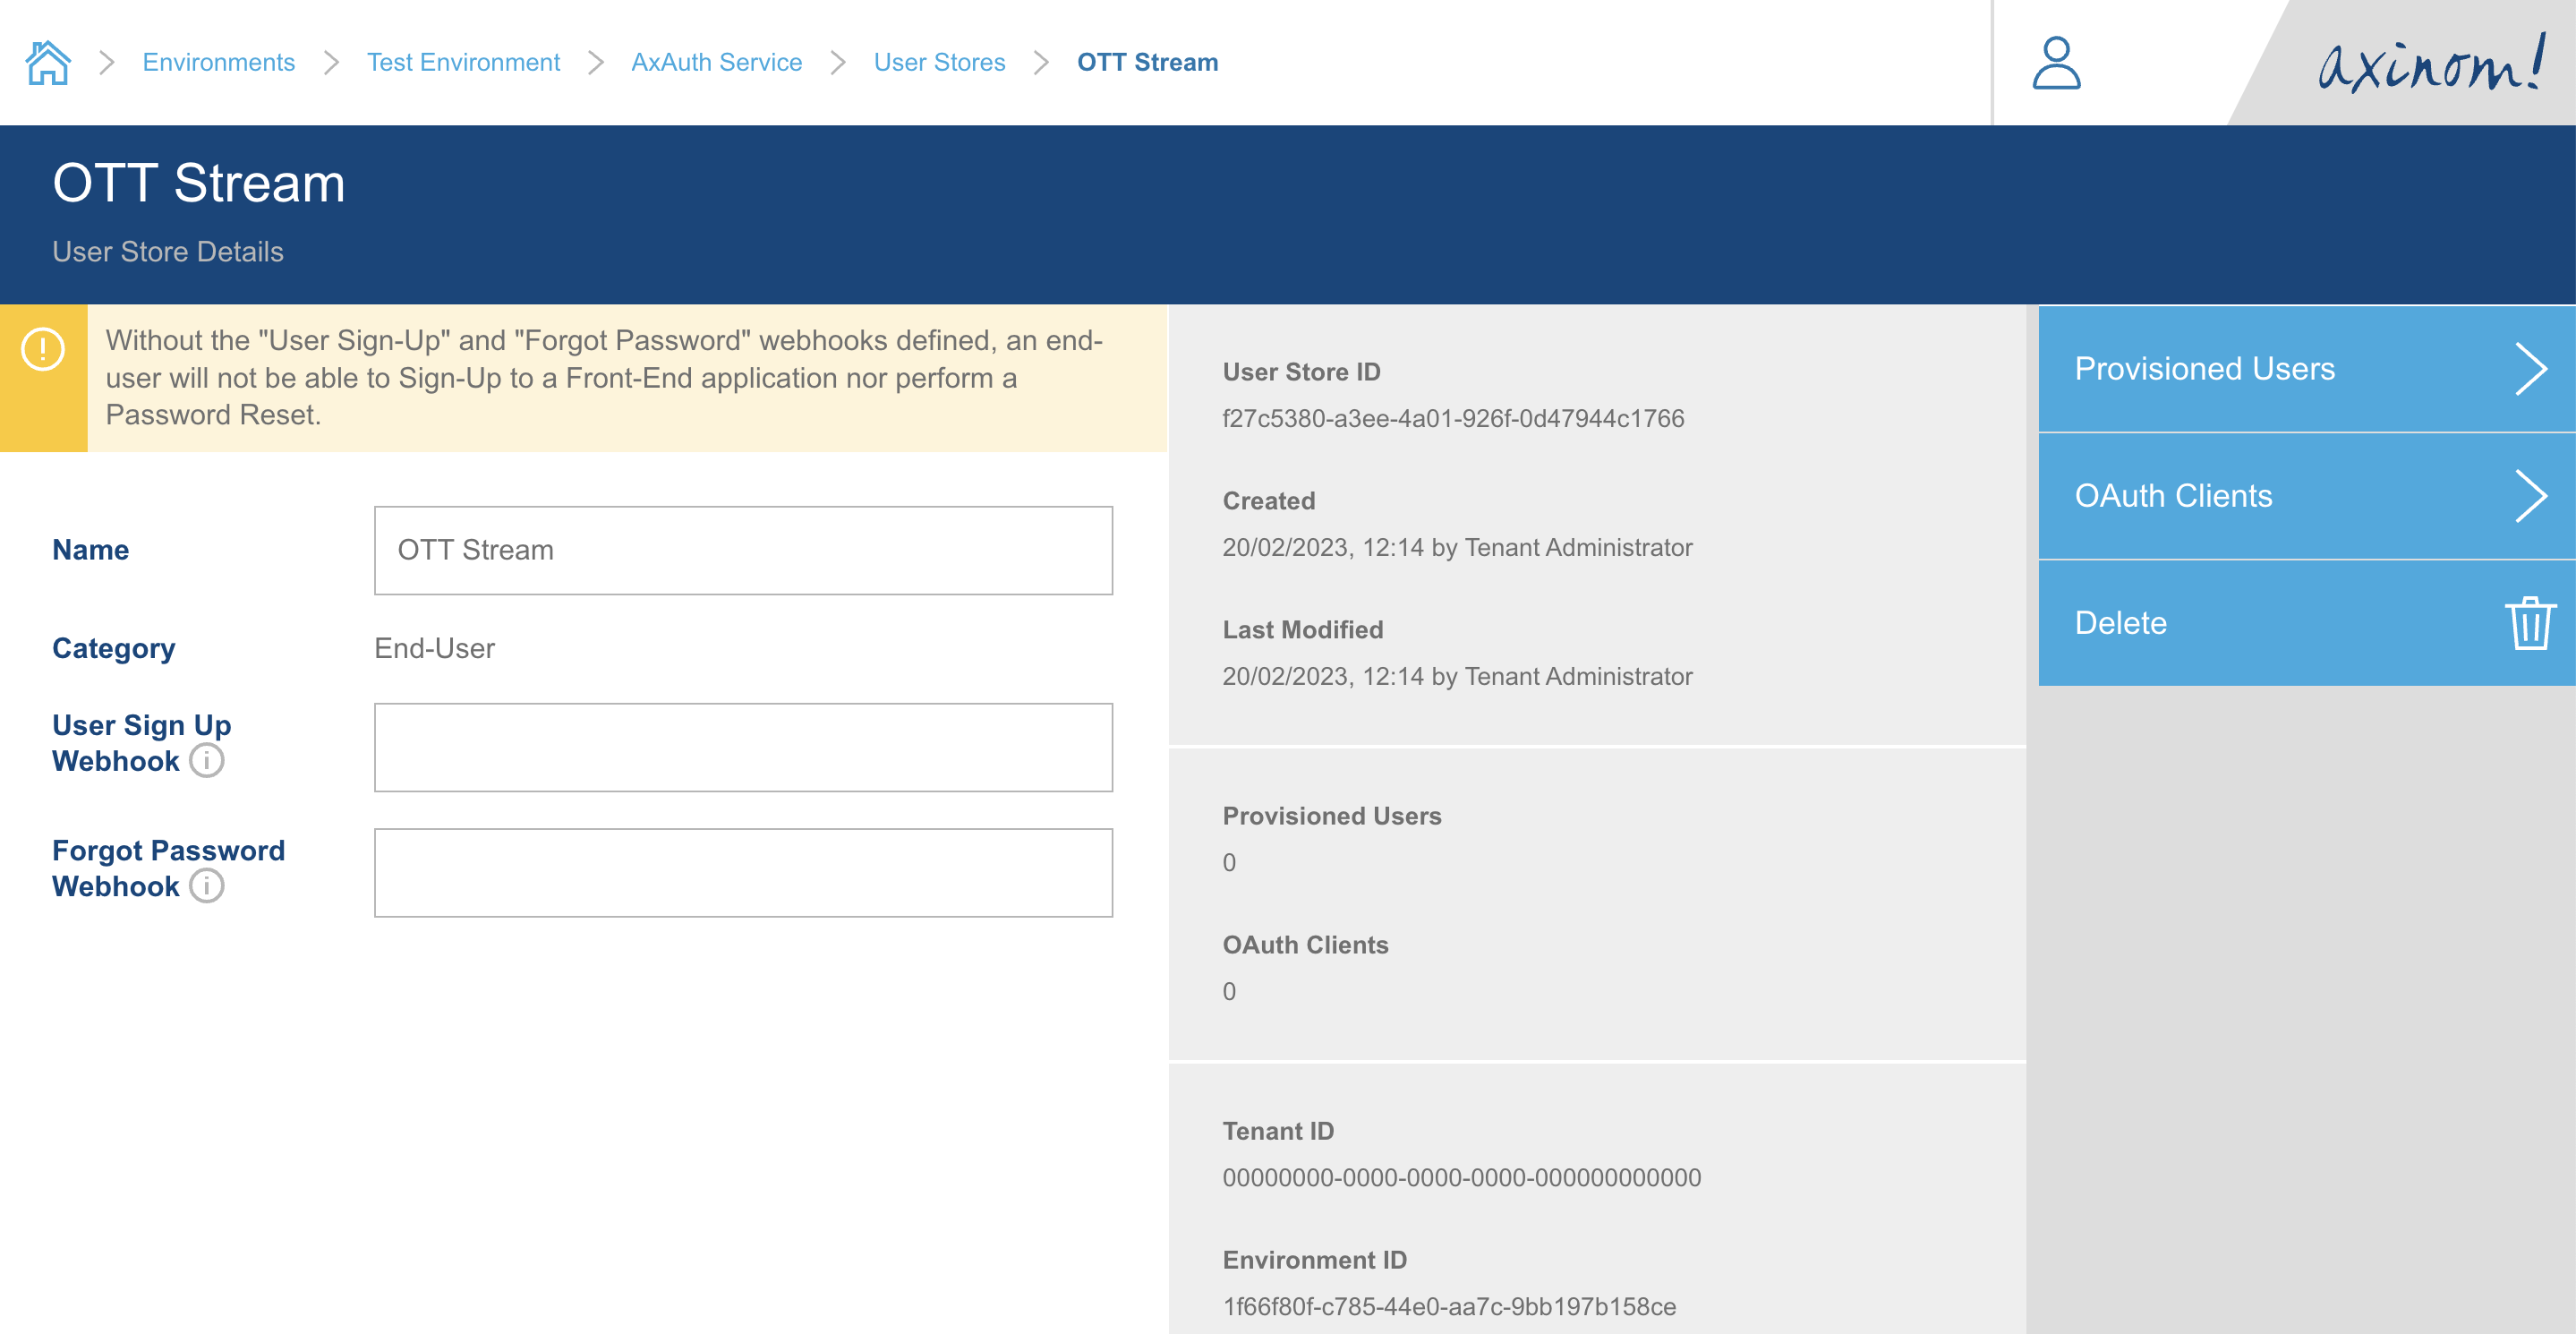
In the User Store details (of the End-User user store), the User Sign up Webhook &
Forgot Password Webhook shall be configured for these features to be usable in the
real world. If they are not configured yet, a warning message will be displayed to do so.
The URL defined under User Sign up Webhook will be called by the AxAuth Service when
a new user signs up with their email address. This can be helpful for the integrator to
trigger a user onboarding flow where some welcome email is sent to the user containing
an email-verification link. After such verification step, it is required that the integrator
will invoke the completeUserSignUp mutation exposed by the AxAuth Service GraphQL endpoint.
This can also be done using the user-auth library too. If the integrator wishes to not verify
email addresses, it is also possible to immediately invoke the completeUserSignUp mutation from within the Webhook.
Please refer to the Webhooks article on how to implement a webhook securely.
User sign-up Webhook HTTP Post payload:
{
   email: string,
   signUpOtp: string,
   firstName: string,
   lastName: string
}
The URL defined under Forgot Password Webhook will be called by the AxAuth Service when a user
attempts to reset their password associated with an email. This can be helpful for the integrator
to trigger a password reset flow, by sending an email to the registered email address with a unique
reset-password link. To complete the password reset, it is required that the integrator will invoke
the completeEndUserPasswordReset mutation exposed by the AxAuth Service GraphQL endpoint. This can
also be done using the user-auth library too.
Forgot Password Webhook HTTP Post payload:
{
email: string,
resetOtp: string,
firstName: string,
lastName: string
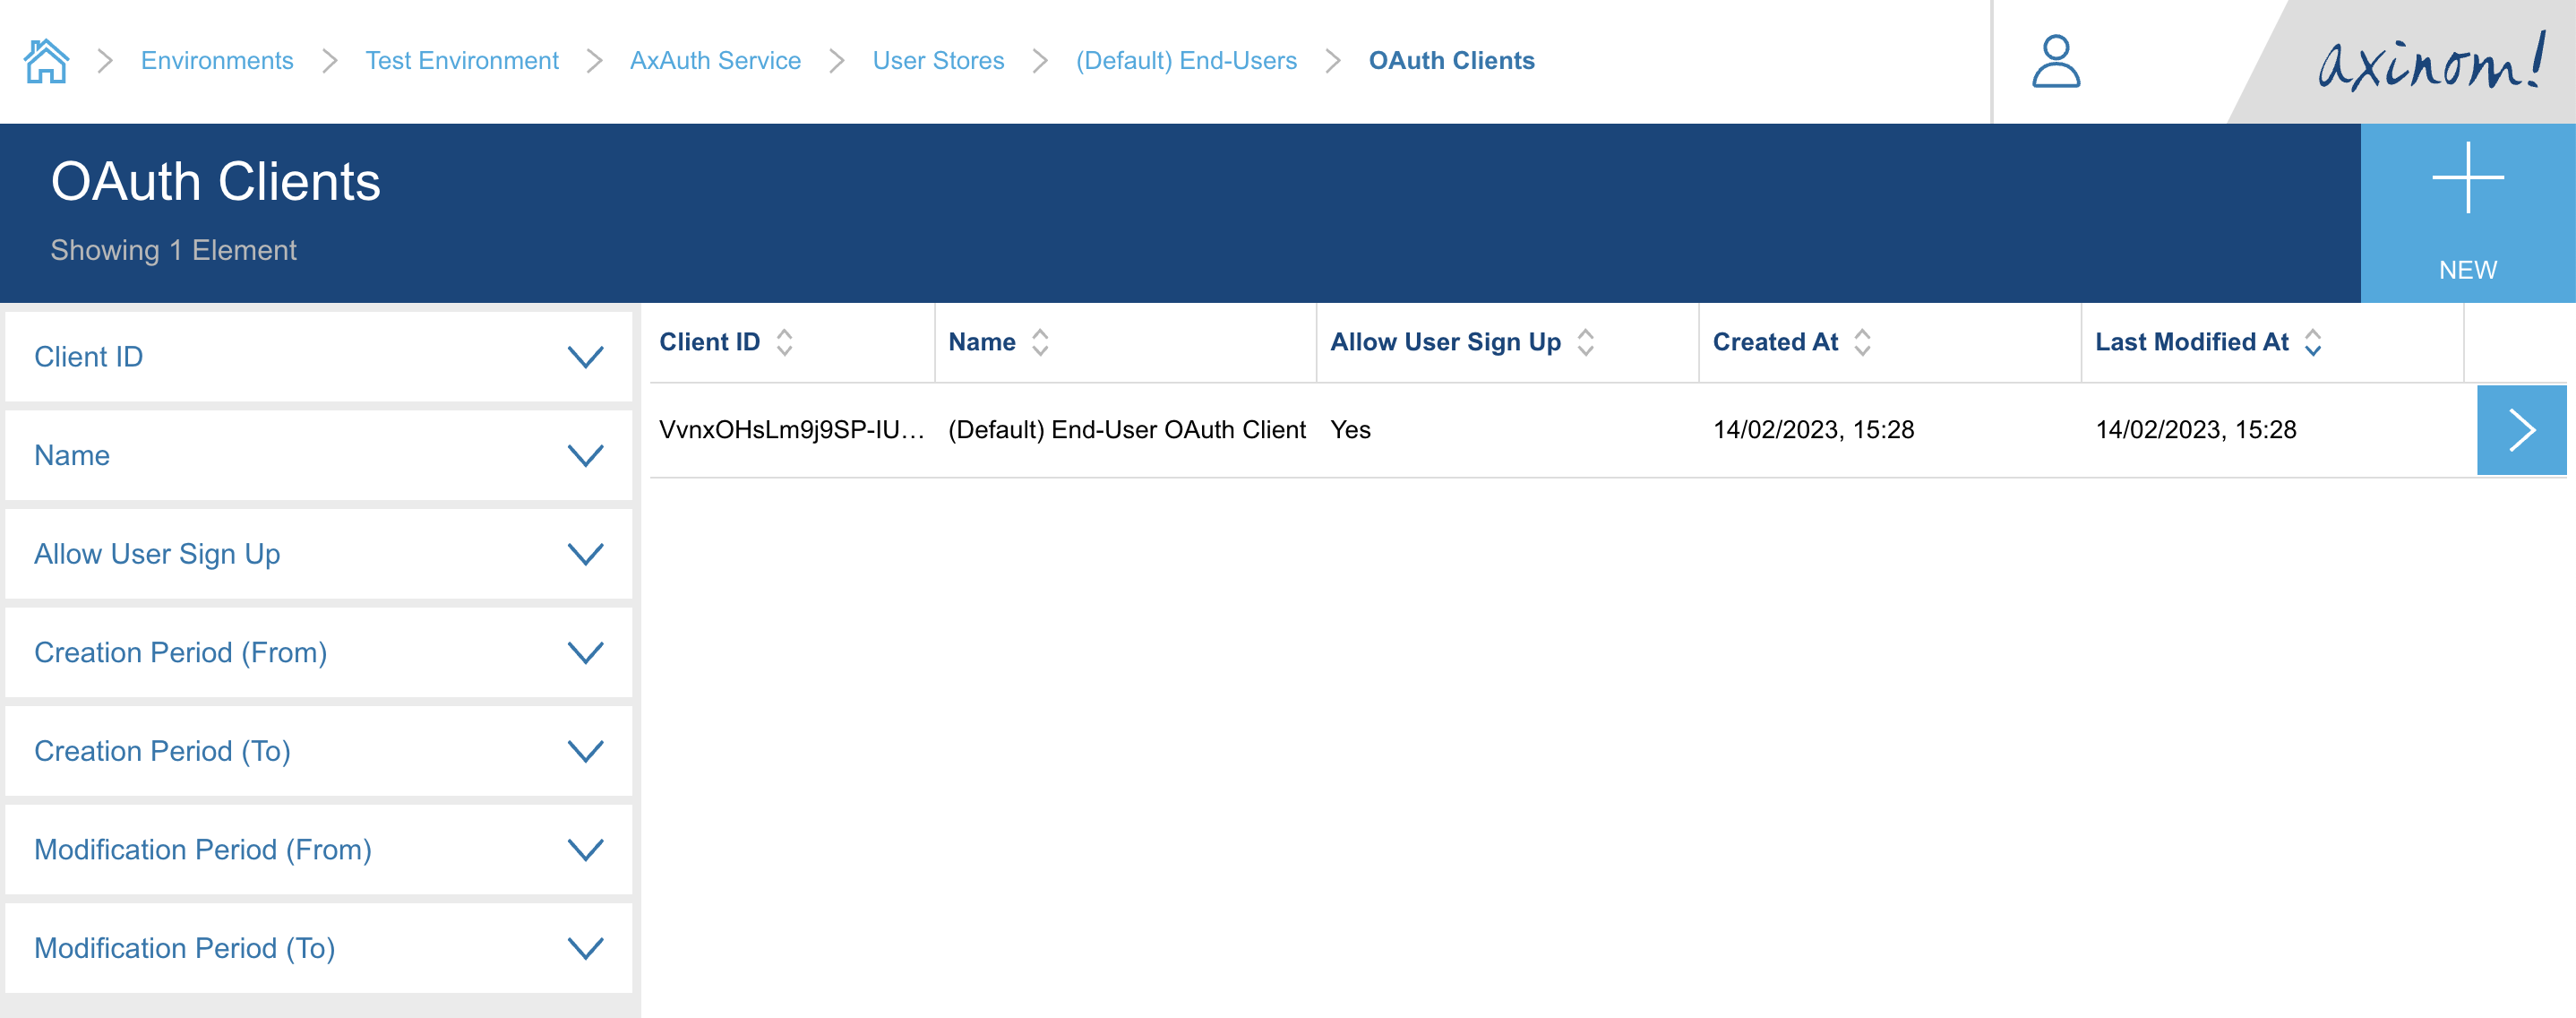
}Once you have configured the webhook URLs, you can verify that a (Default) OAuth Client has been
created during the service enabling operation, by clicking the OAuth Clients button.
At this point the AxAuth Service configuration requirements are complete, and we can move over to the User Service configurations.
|
Note
|
Please note it is possible to create separate User Stores/OAuth Clients as and when needed instead of using the (Default) ones.
|
Configuring the User Service
The AxAuth IDP is a supported managed IDP in User Service. So we need to create a new IDP
connection in the User Service and connect it to previously discussed User Store & OAuth Client.
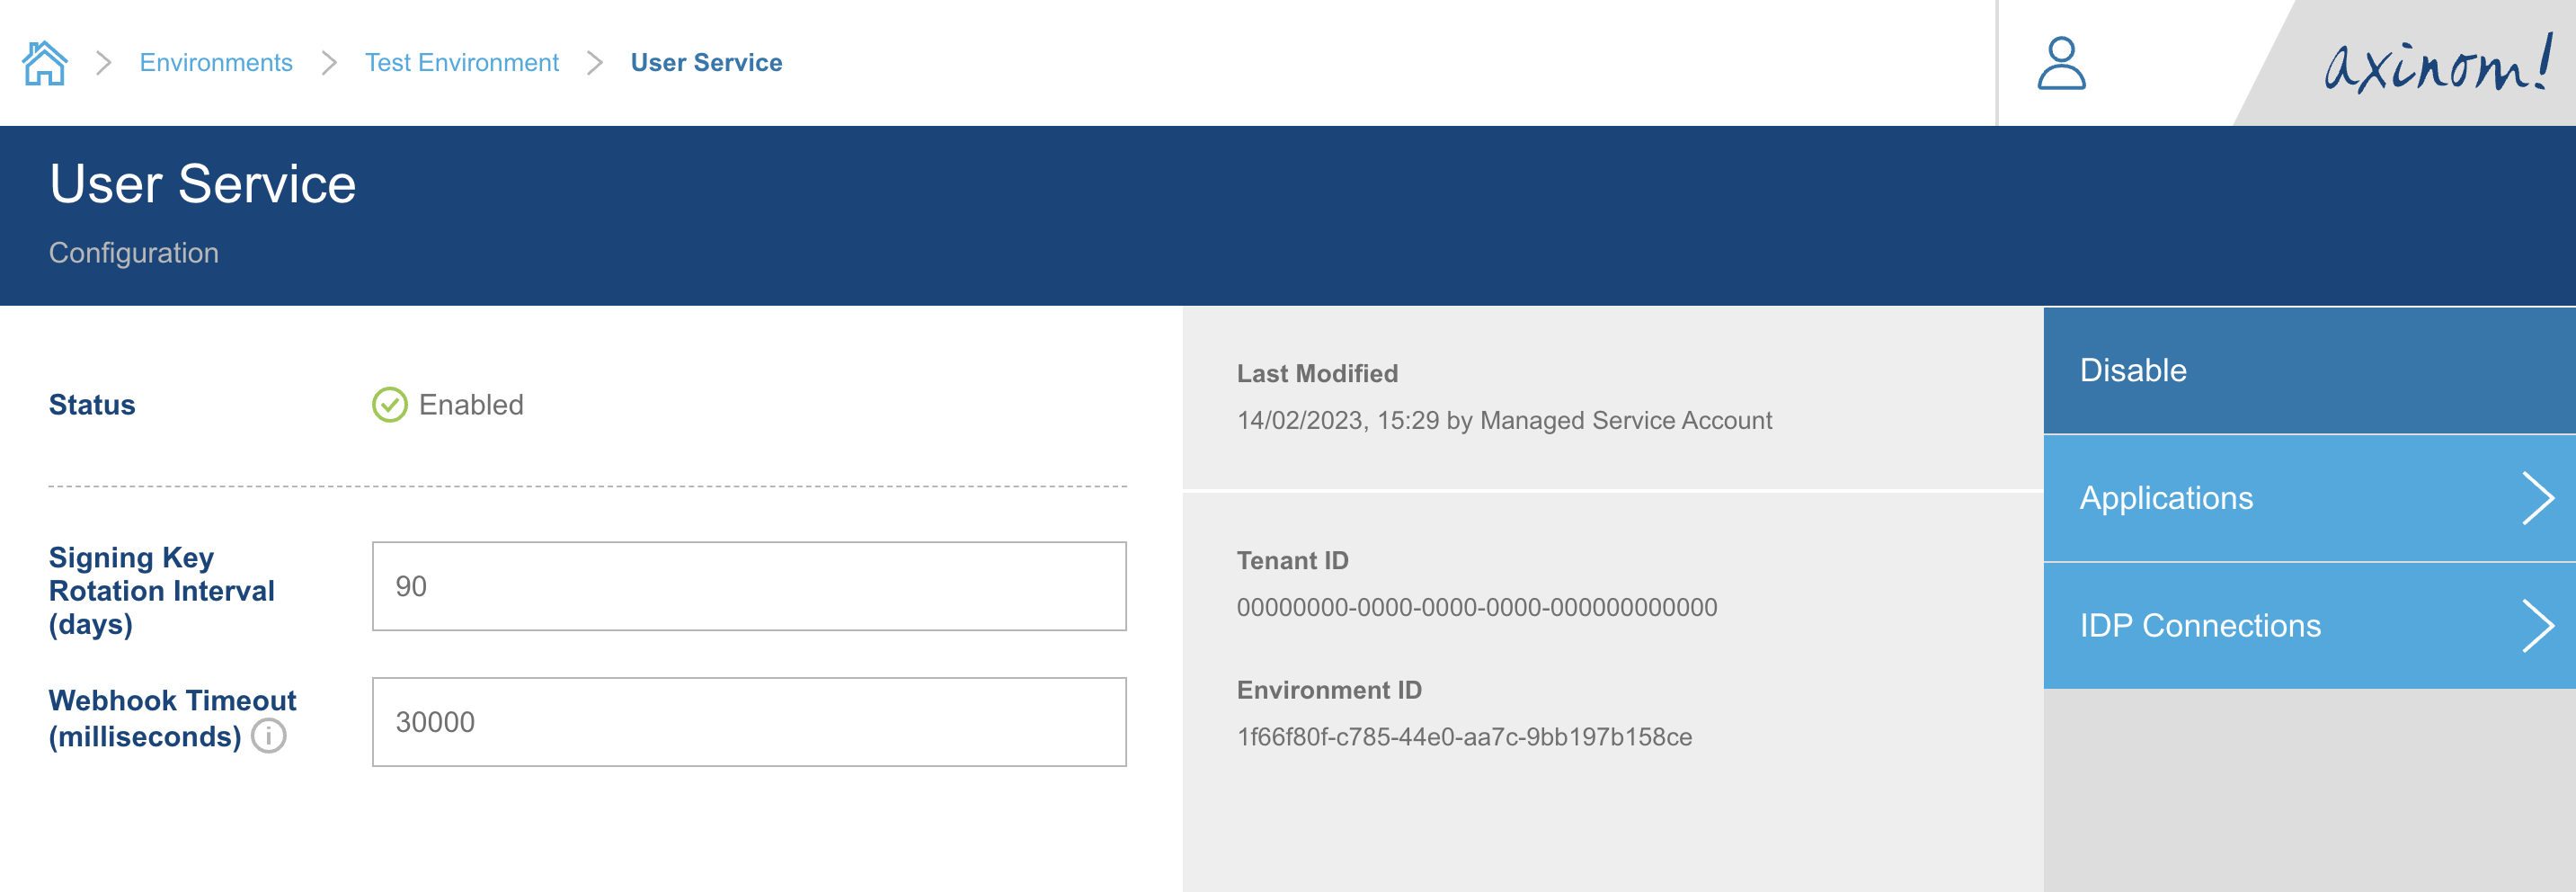
Navigate to the User Service Configuration station in your environment, and click on the IDP Connections button in the right side menu.
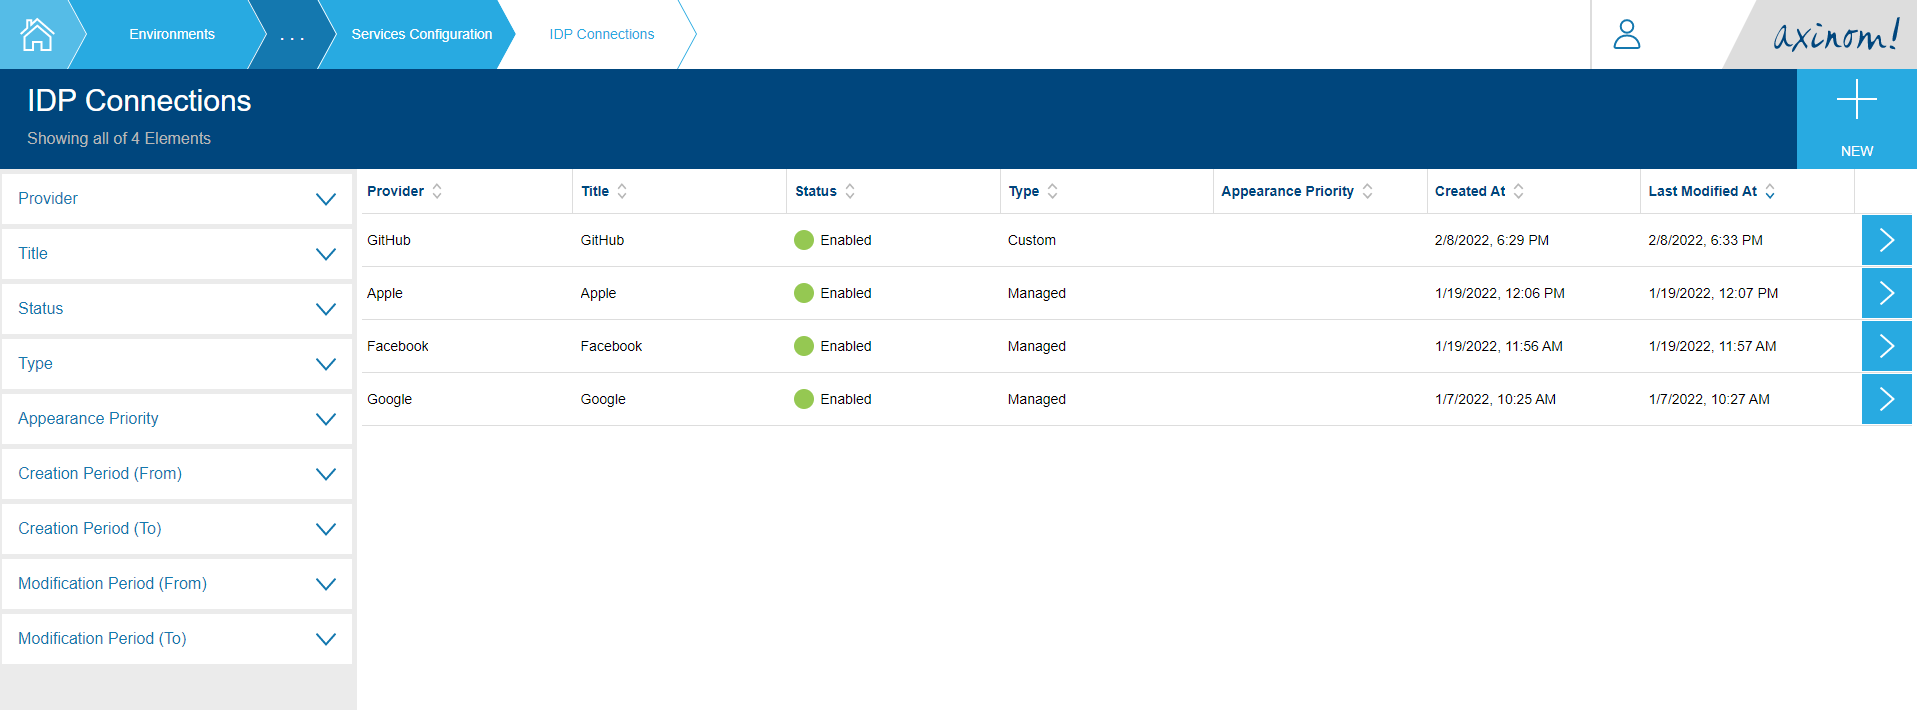
You will be navigated to the IDP Connections Explorer station. Click on the New button on the top right corner.
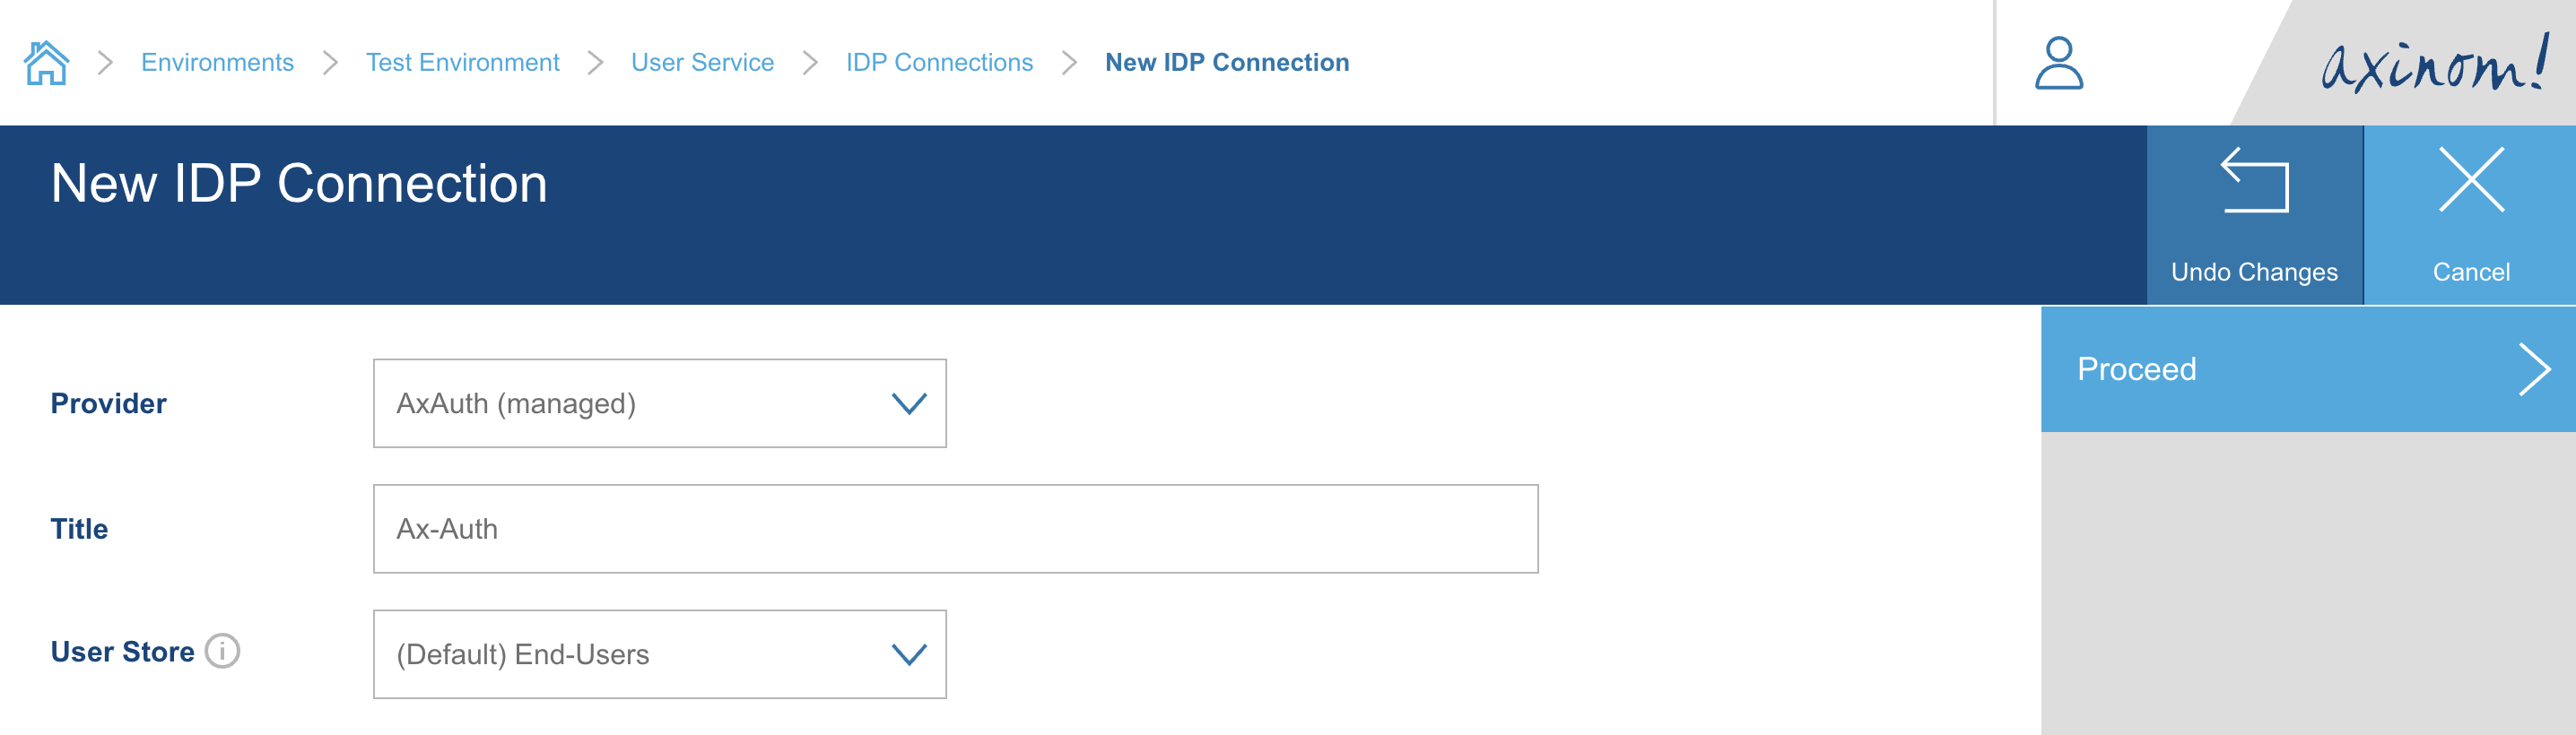
This will take you to the New IDP Connection station. Select AxAuth
as the Provider and give an appropriate title for the connection.
Then select the end user store from the dropdown. (Default) End-Users store will
automatically selected as default value. Then click Proceed.
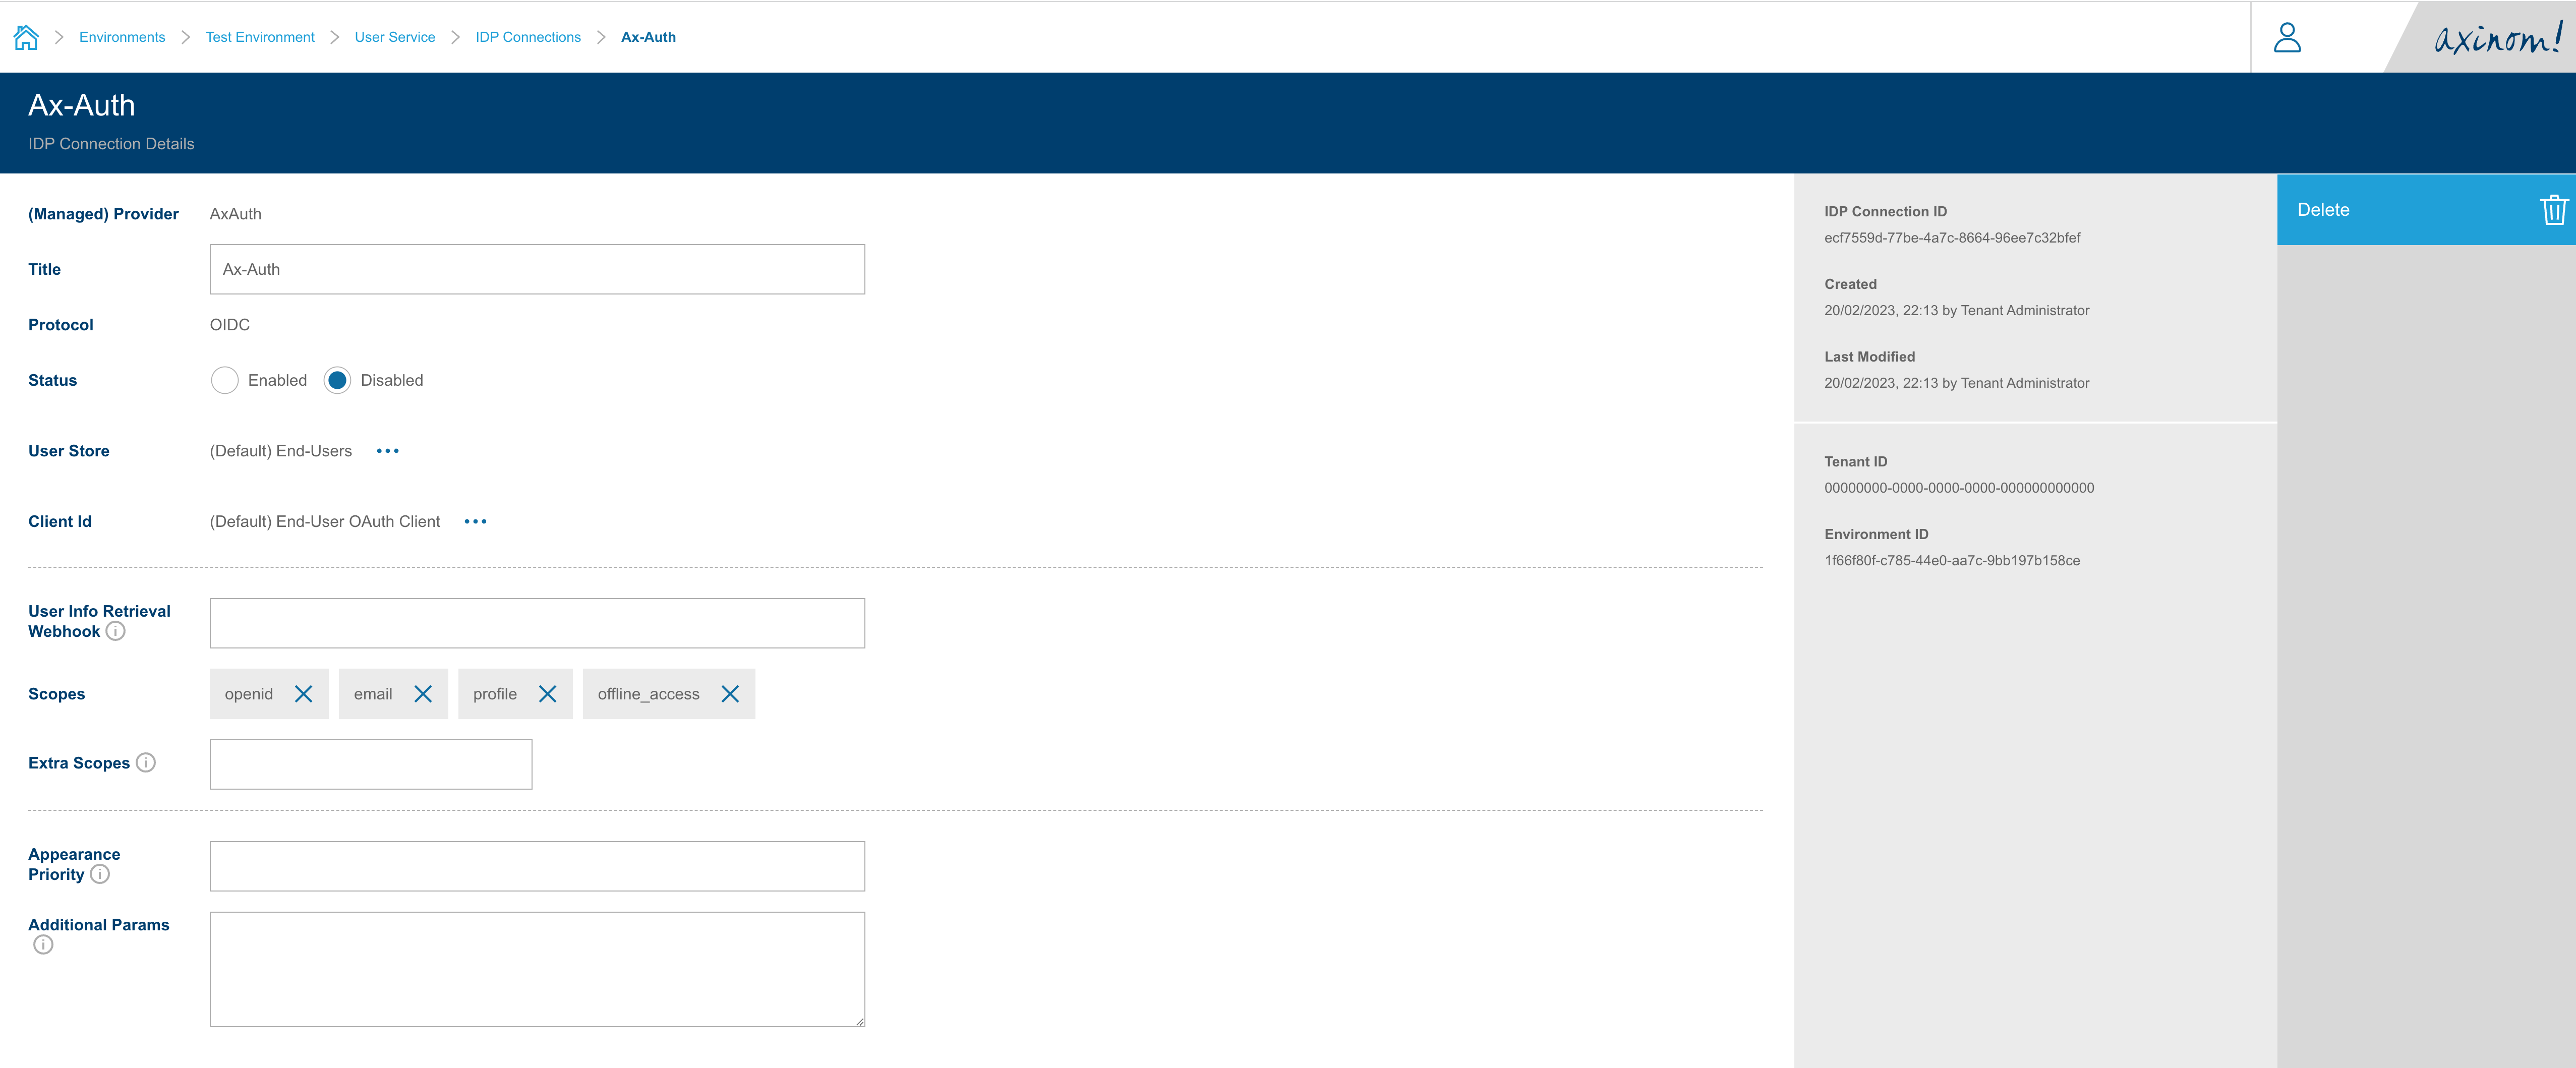
You will be taken to the IDP Connection Details station, where the User Store and OAuth Client values for the AxAuth provider will be filled.
You can view the User Store and modify the OAuth Client (i.e. Client ID) if needed.
You can set the status as Enabled and save the IDP Connection to use it in your Application next.
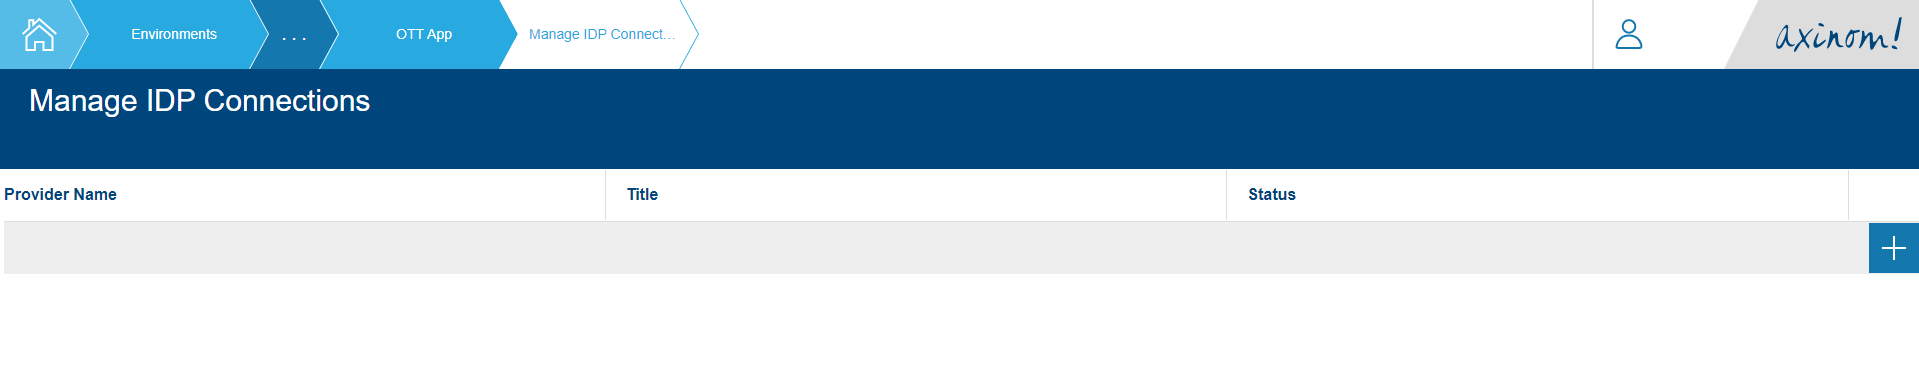
The final step would be to connect the IDP Connection created for AxAuth to the Application instance in the User Service.
We can do this by navigating to the Application Details station of the Application the IDP Connection should be connected to, and then clicking on the Manage IDP Connections button on the left pane.

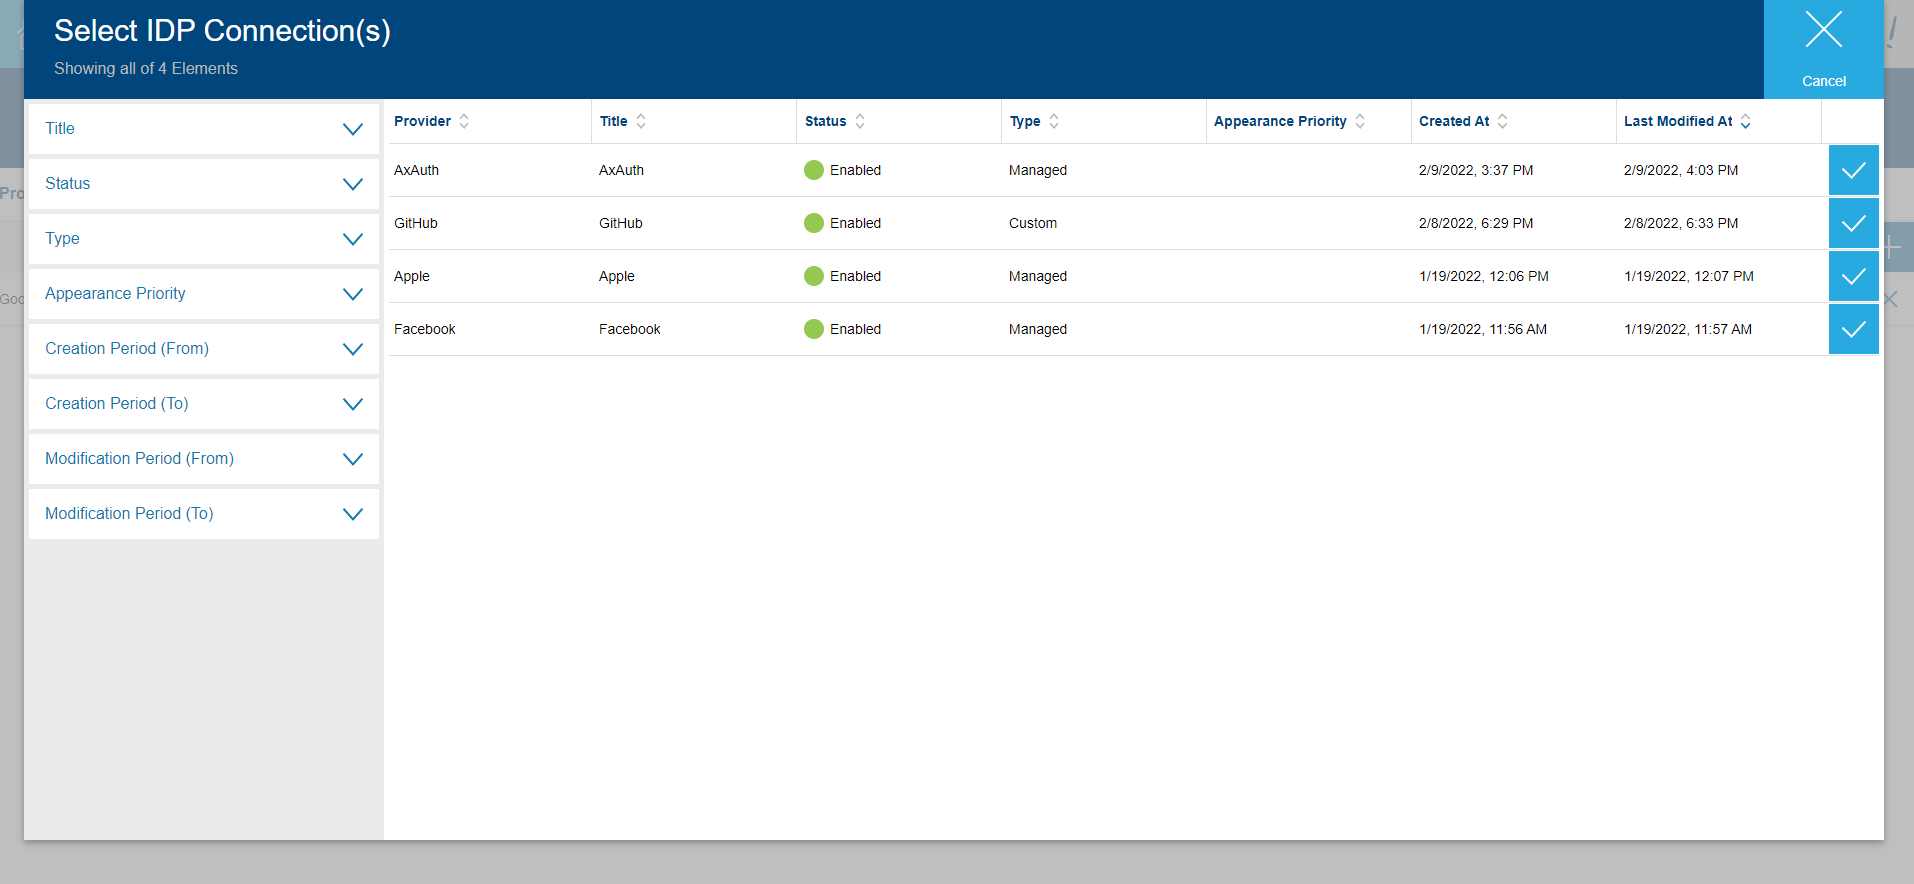
The Manage IDP Connections station will have the IDP Connections that are already connected to the Application. Click on the + button to get the available IDP Connections list and select AxAuth from it.
After selection, the Manage IDP Connection station should look similar to the below figure.
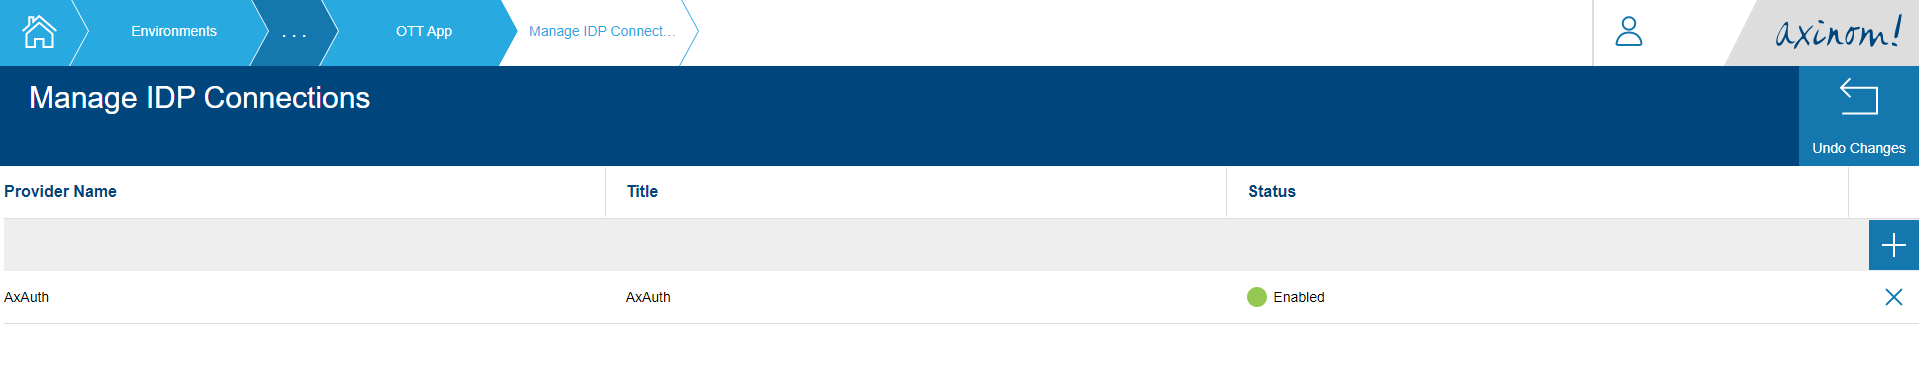
The Application is now configured to use AxAuth IDP.