Deploy a Customized Service with Hosting Service
Introduction
Mosaic Hosting Service supports provisioning of infrastructure and deployment of customized services through the Administration Portal with a few clicks, eliminating the hassle of carrying out the deployments manually.
When a customized service is deployed through Hosting Service, it takes care of provisioning of all required infrastructure, such as databases, DNS records, and RabbitMQ VHosts, as well as any Service Accounts.
This is a step by step guide on how a customized service can be deployed through the Mosaic Hosting Service.
Pre-Requisites
To deploy a customized service, the Mosaic Hosting Service needs to be given a container image, which it can deploy. The image is pulled at deployment time from a container registry. Prior to a user creates a deployment, this container image must be pushed to a container registry, and that registry must be configured in Mosaic Hosting Service.
The configuration can be done through Container Registry Connection station.
A complete guide on how to configure the Container Registry Connection can be found here.
Registering a Customized Service
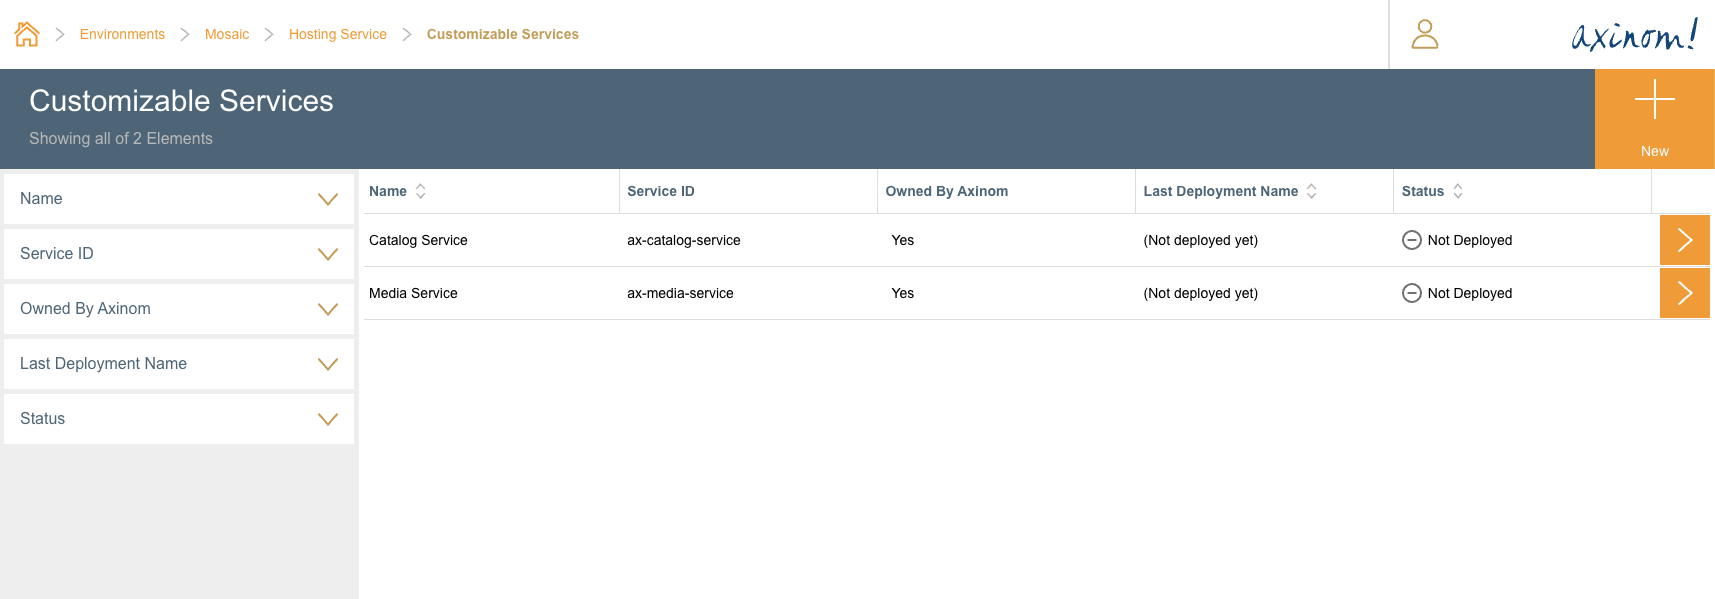
The first step of deploying a customized service is to register the service in Hosting Service. The registration of a new customized service should be done by navigating to the Customizable Services station in Hosting Service. This can be done by going into the Hosting Service Configuration station.
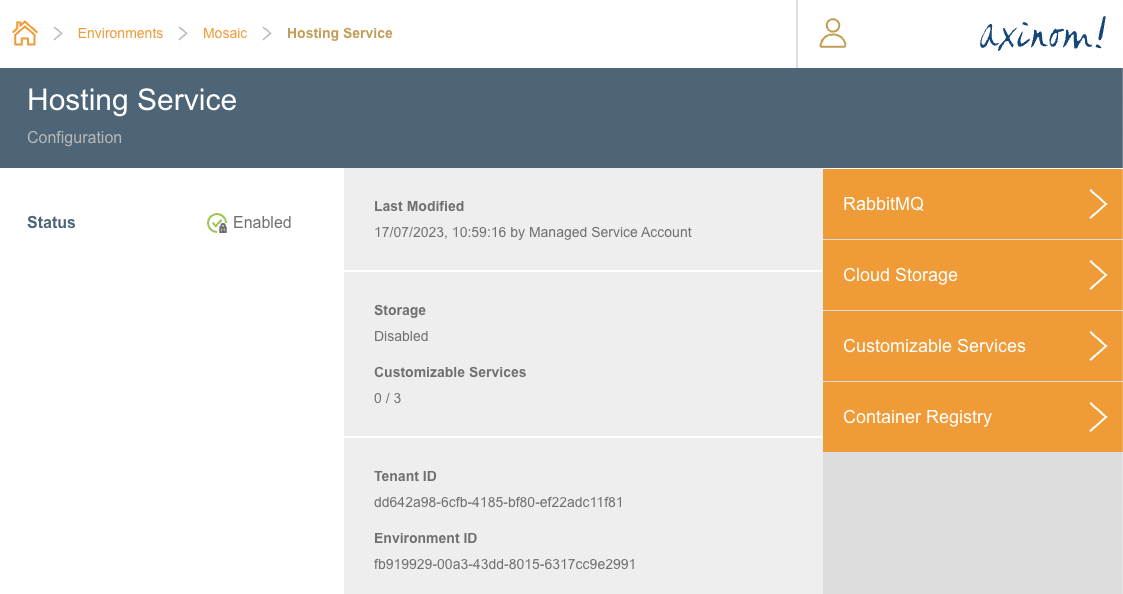
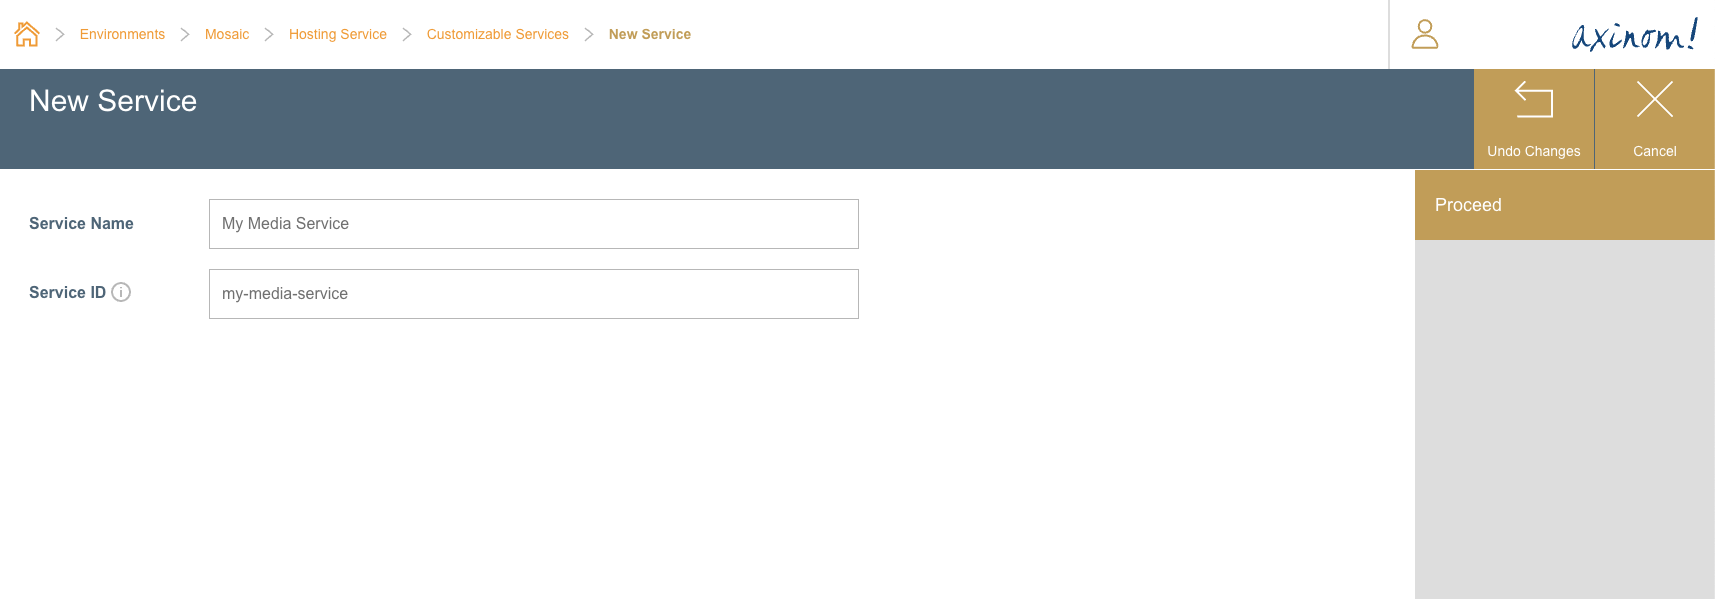
After navigating to the Customizable Services station, click on the + button on the top right corner of the explorer. This will take the user to New Service station.
In the New Service station, a Service Name
and Service ID needs to be given. When giving the Service ID, make
sure not to start it with ax- or axinom-. This naming convention
is reserved for Axinom owned Customizable Services. Also make sure this
is an alpha-numeric string with no spaces.
After filling the two fields, click on the Proceed button.
After clicking the Proceed button, the user will be navigated to the Customized Service Details station. In this station, the user have the option to define the Repository Name where the images related to this service should be pulled from. This must be a repository name that exists in the container registry which the user configured in the pre-requisite step.
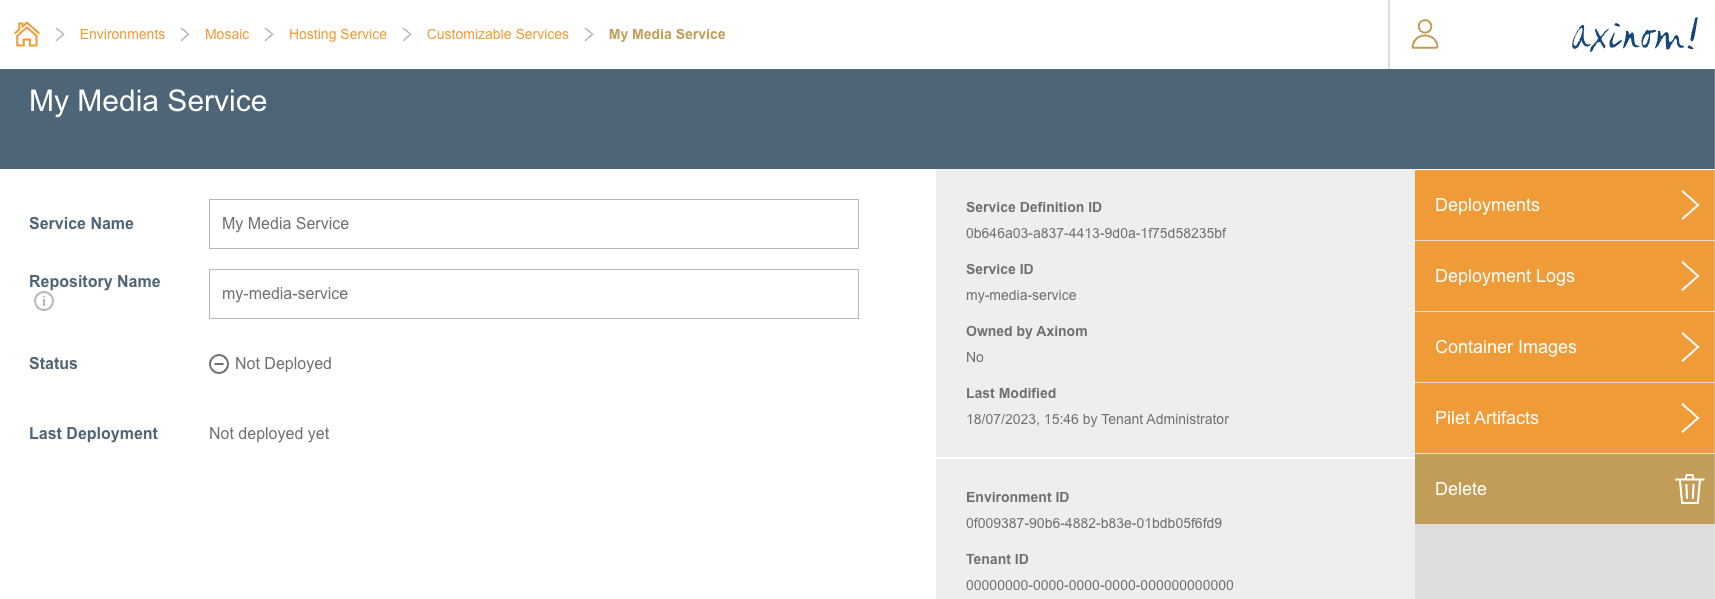
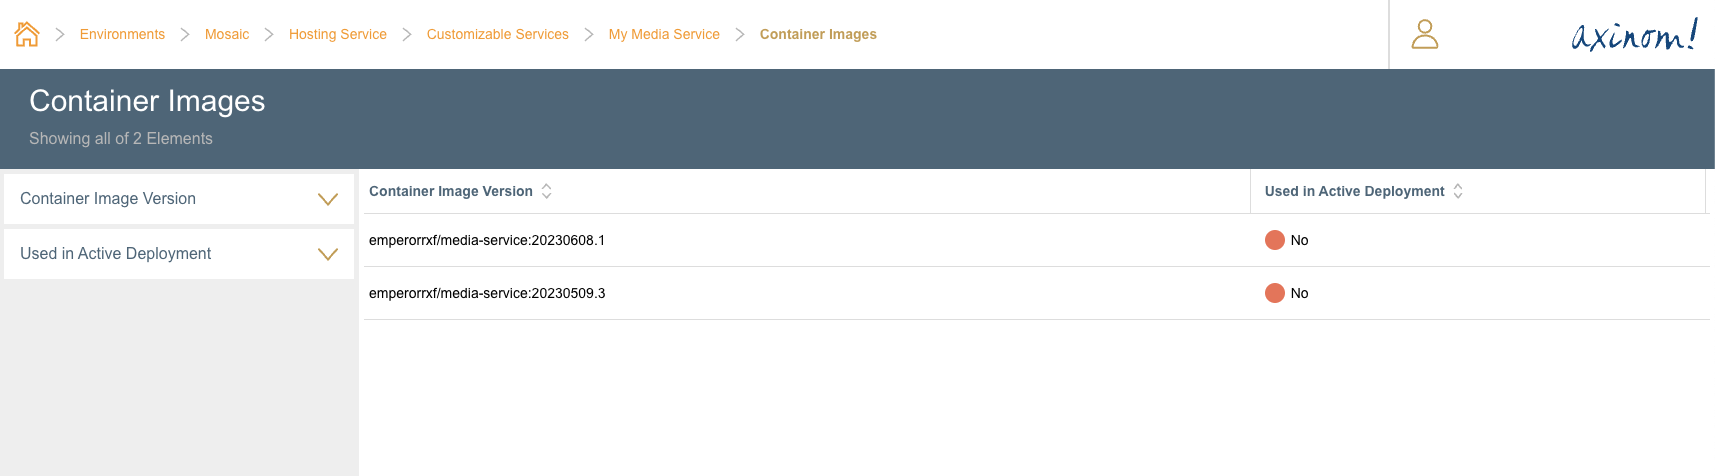
If the user then navigates to the Container Images station, it will display all available container images in that repository.
Now that the new customized service is registered with Hosting Service, the following artifacts are required to create a deployment.
-
Container Image - Image of the service to be deployed
-
Deployment Manifest - Outlines the environment variables and other configuration that will be used for the deployment.
-
Pilets - Defines the Micro-frontends for the service being deployed. This is an optional artifact. For a headless service, no Pilet artifacts will exist.
Container Image
When creating a Deployment, the user is prompted to pick an image tag from the repository which was configured in the above step, when registering the service with Hosting Service.
Pilets (Micro-frontends)
A pilet is a Micro-frontend artifact that must be uploaded to the Hosting Service to enable any workflows for the service that is being deployed.
Building the Packaged Pilet
A pilet can be built by using the command pilet pack and giving
the path of the react project.
For more information on this, please refer to Piral documentation at
https://docs.piral.io/tooling/pack-pilet.
When using the Media Template, this can be easily done by using the existing script
in the root package.json, build:media-workflows:prod. This will create a .tgz
file, which is ready for upload in the Media Template’s root.
Registering the Pilets (Micro-frontends)
For registering the Pilets, the Mosaic CLI provides the command
mosaic hosting pilet register. The command must be given a folder with
a .tgz file, which is the packaged Pilet.
Setting up the Service Account
To register the Pilets, the CLI command must be given the credentials to a Service Account with the following permissions.
-
Pilets: Register
-
Service Pilet Artifacts: Edit
-
Service Definitions: View
Configuring the Environment Variables
Some of the arguments used in the pilet register command can be configured
as environment variables.
Add the following as the environment variables.
TENANT_ID=[Your Tenant ID]
ENVIRONMENT_ID=[Your Environment ID]

MOSAIC_HOSTING_CLIENT_ID=[Client ID of the Service Account created above]
MOSAIC_HOSTING_CLIENT_SECRET=[Client Secret of the Service Account created above]

ID_SERVICE_AUTH_BASE_URL=https://id.service.eu.axinom.net
HOSTING_SERVICE_BASE_URL=https://hosting.service.eu.axinom.net
MICRO_FRONTEND_SERVICE_BASE_URL=https://frontends.service.eu.axinom.net
Alternatively, user can give them as CLI arguments.
Running the pilet upload CLI Command
After configuring the environment variables, the CLI command to register pilets can be run as follows.
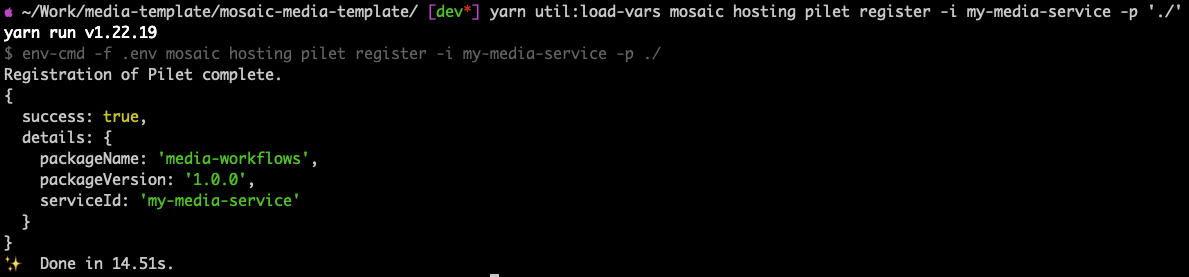
yarn util:load-vars mosaic hosting pilet register -i my-media-service -p './'
The example showcases a scenario where the .tgz file is in the root folder
of the media-template repo, along with a .env file containing the required
environment variables.
The utl:load-vars is used to load the environment variables from the .env file.
The output of this would be similar to the below figure.
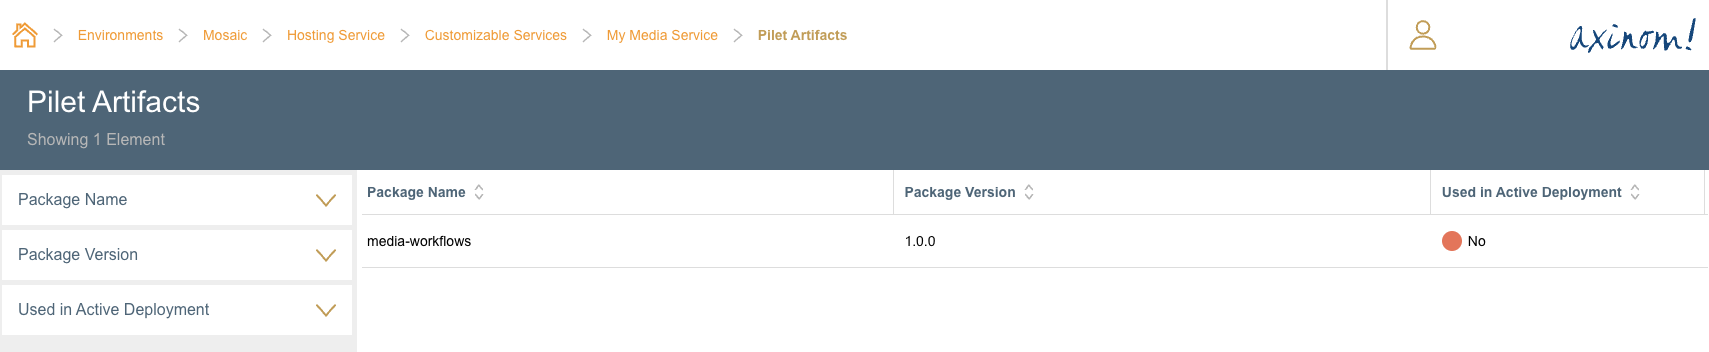
If the user navigates to the Pilet Artifacts station from the Customizable Services Details station, it should show the newly registered Pilet.
Deployment Manifest
A deployment manifest describes the deployment and runtime configuration for the service that is being deployed. For more information on how a deployment manifest is structured and the contents of it, please refer to the document Understanding the Deployment Manifest.
Uploading the Deployment Manifest
For uploading the deployment manifest, the Mosaic CLI command
mosaic hosting manifest upload can be used. The CLI tool must
be given the path to a mosaic-hosting-deployment-manifest.yaml
file. In Mosaic Customizable services, this file resides inside
the service folder.
The manifest upload command requires a few arguments, which can
be defined in the .env file at the root, which will make its usage
much easier.
Setting up the Service Account
To upload the manifest, the CLI command requires a Client ID and Secret of a Service Account. This Service Account must have the following permissions.
-
Service Deployment Manifest: Edit
-
Service Definitions: View
|
Note
|
It is recommended to use a single Service Account with permissions for both Deployment
Manifest Upload and Pilet Register commands. The same can then be defined in the root .env
file for easier usage.
|
Configuring the Environment Variables
Some of the arguments used in the manifest upload command can be configured
as environment variables. These can also exist in the root .env file.
Add the following as the environment variables.
MOSAIC_HOSTING_CLIENT_ID=[Client ID of the Service Account created above]
MOSAIC_HOSTING_CLIENT_SECRET=[Client Secret of the Service Account created above]

ID_SERVICE_AUTH_BASE_URL=https://id.service.eu.axinom.net
HOSTING_SERVICE_BASE_URL=https://hosting.service.eu.axinom.net
Alternatively, user can give them as CLI arguments.
Running the manifest upload CLI Command
After configuring the above environment variables, the CLI command to upload the deployment manifest can be run as follows.
yarn util:load-vars mosaic hosting manifest upload -n "My Media Manifest #1" -i my-media-service -p "./services/media/service"
This example showcases this command as run from the root of the Mosaic Media Template repository.
The utl:load-vars is used to load the environment variables from the .env file.
The output of this would be similar to the below figure.

As shown, the deployment manifest is now successfully uploaded against the
Service my-media-service.
Creating the Deployment
Now that a customized service is registered with the Hosting Service, and the related Deployment Manifest and the Pilets are uploaded and registered, a user can now create the deployment for the customized service.
Creating a New Deployment
From the Customizable Services Details station, navigate to the Deployments station.
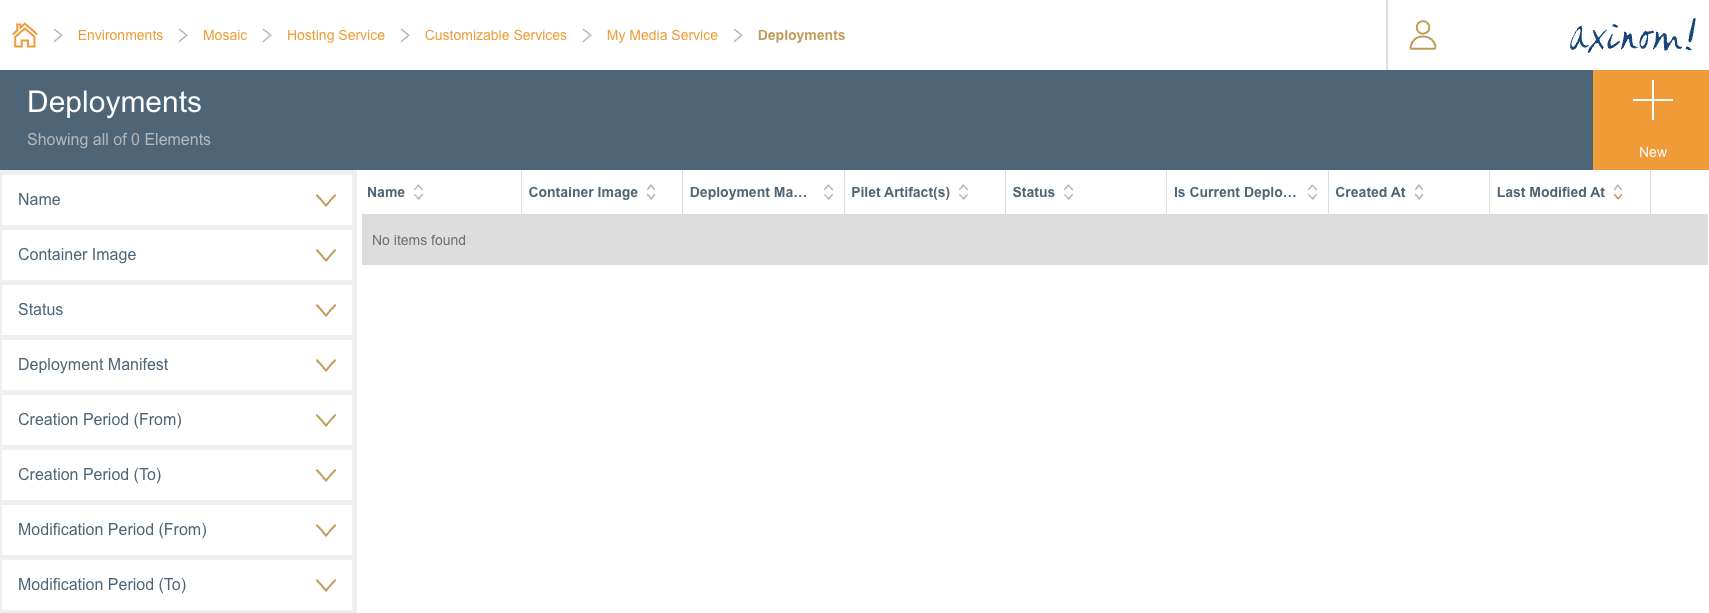
Click on the + button, to navigate to the New Deployment station.
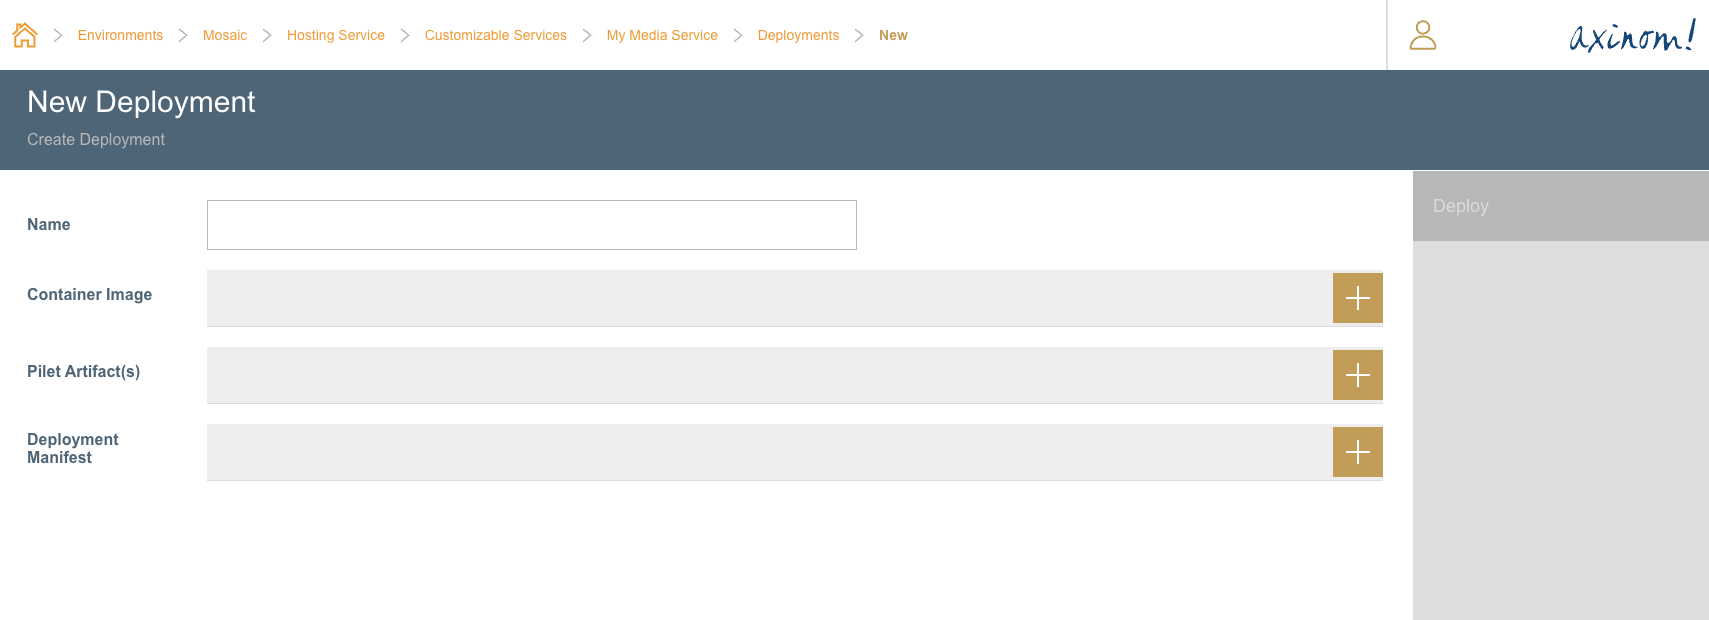
The deployment needs to be given a name, and along with it select the Container Image that must be deployed, the Deployment Manifest and the Pilets.
The Container Images would be displayed using the Container Registry Connection that was configured as a pre-requisite.
For Pilet Artifacts, all registered pilet artifacts for the service using the CLI command would be displayed. Theoretically, more than one Pilet Artifact can be given for a service.
For Deployment Manifests, all uploaded deployment manifests for the service using the CLI command would be displayed.
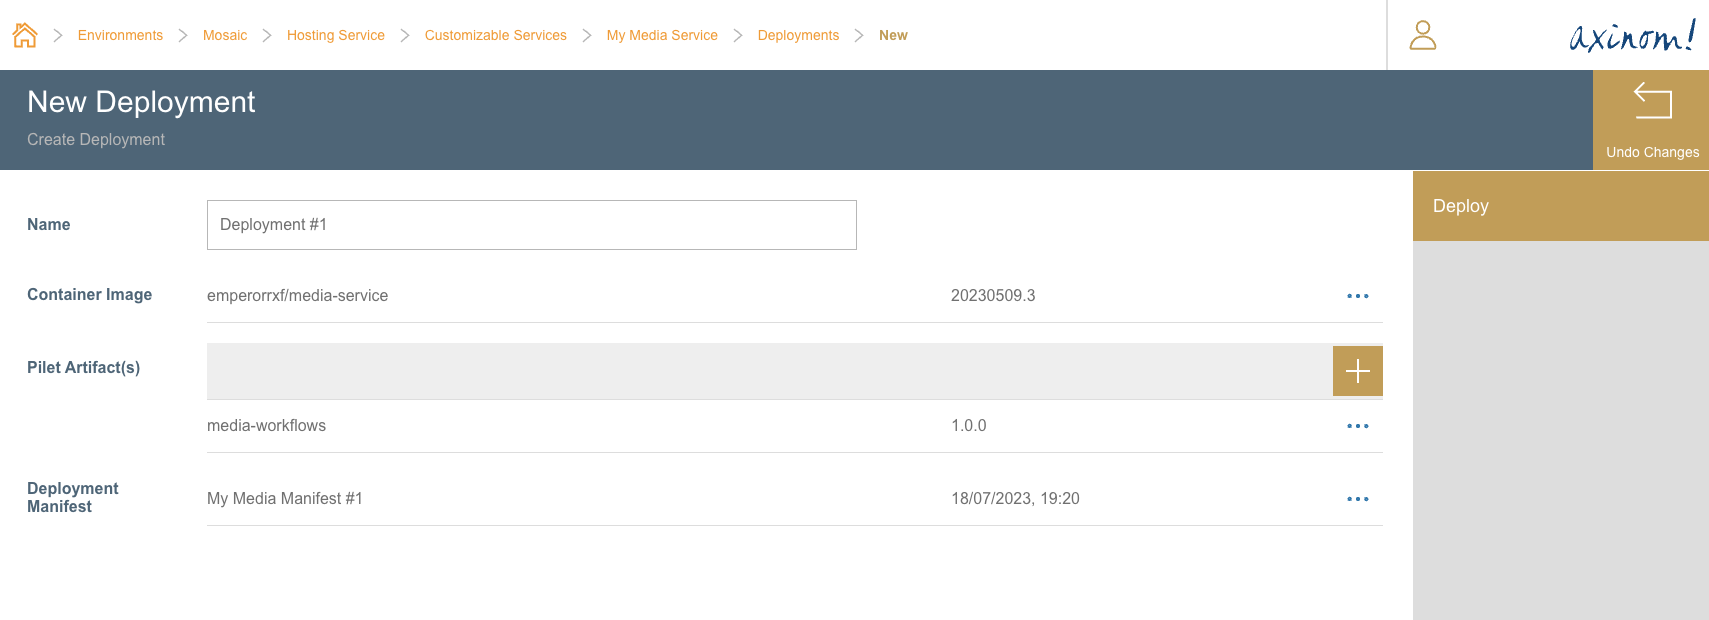
The last action is to click on the Deploy button. This will intiate the deployment.
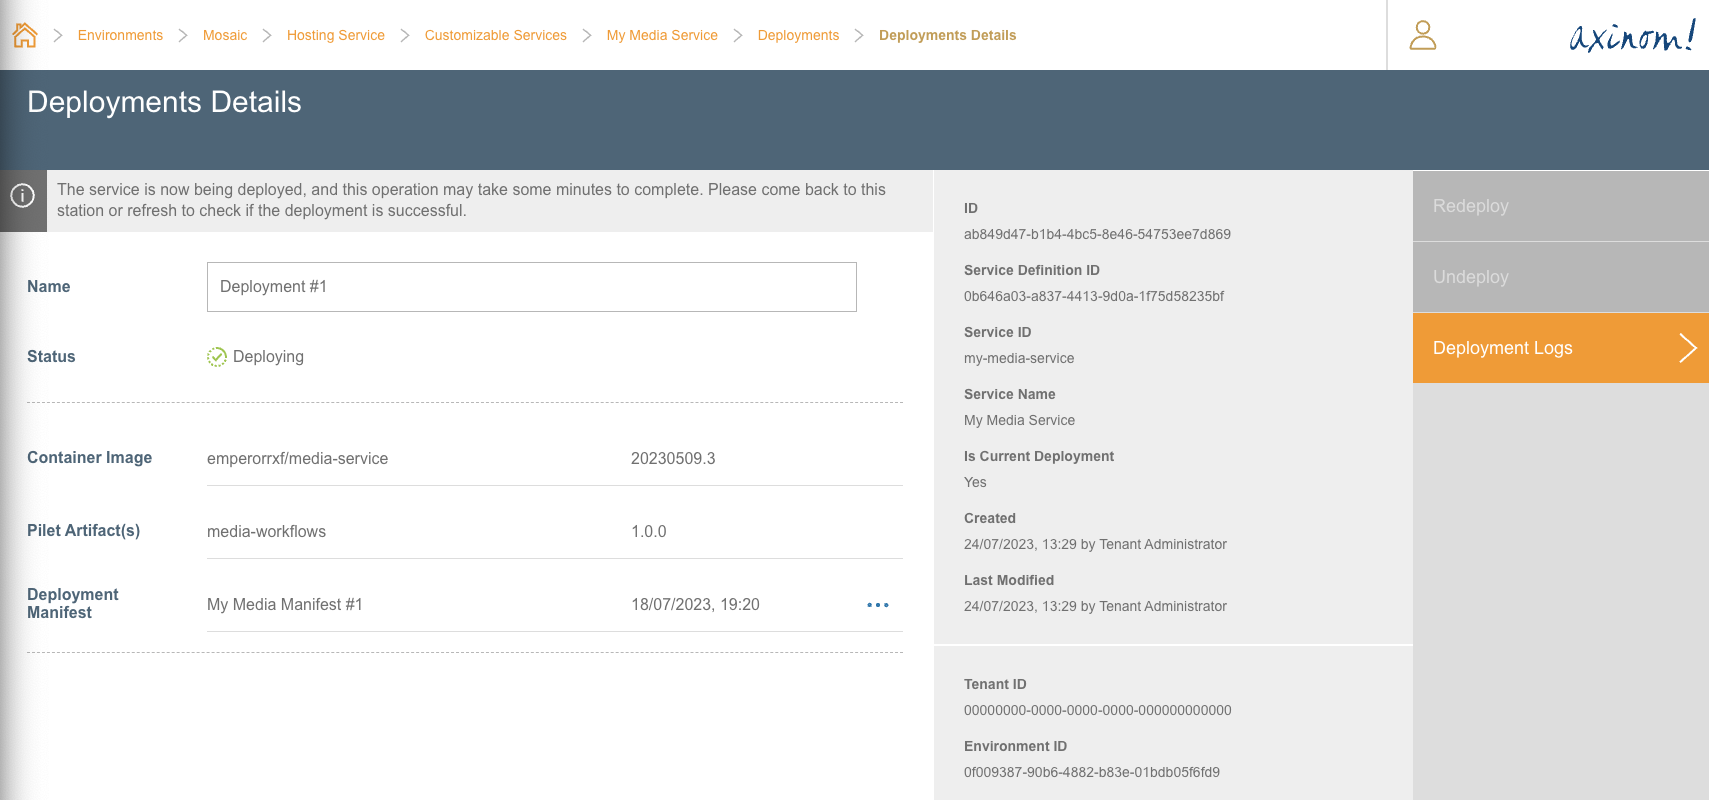
Clicking on this button will also navigate the user to Deployment Details station.
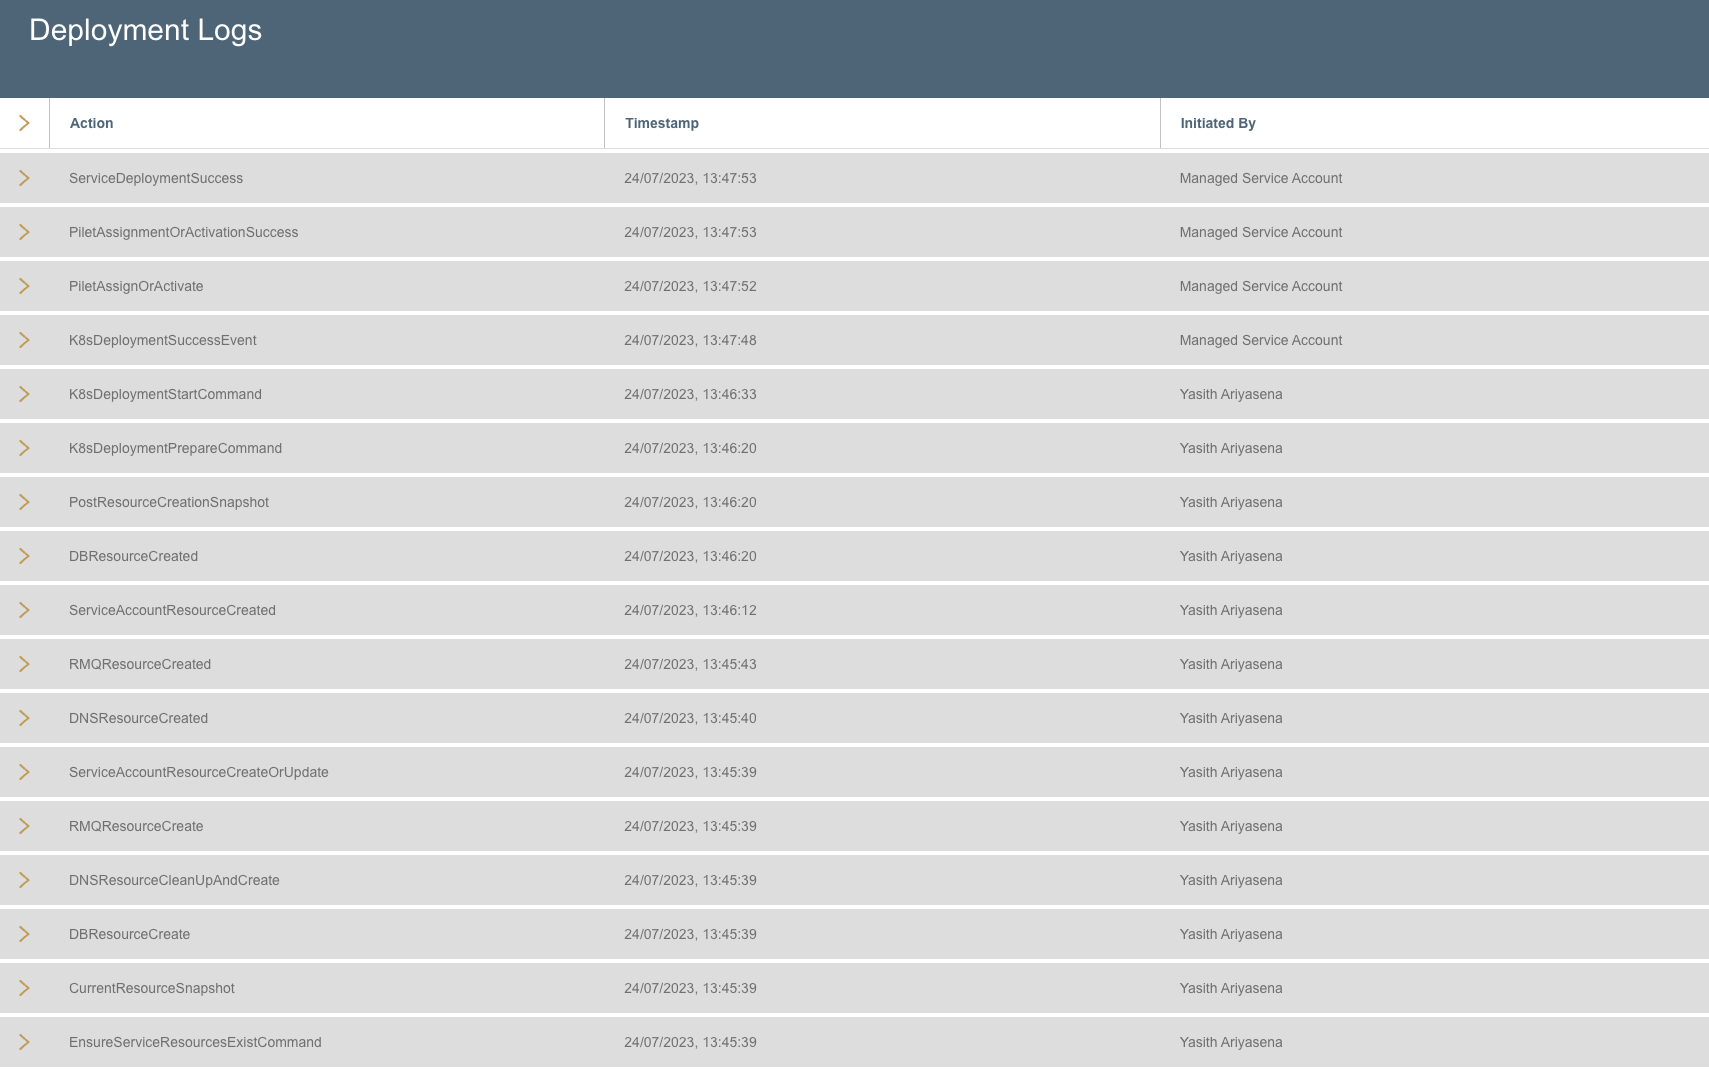
If the user proceeds to Deployment Logs station, it would show a detailed breakdown of all actions taken during the deployment.
When the Deployment Succeeds
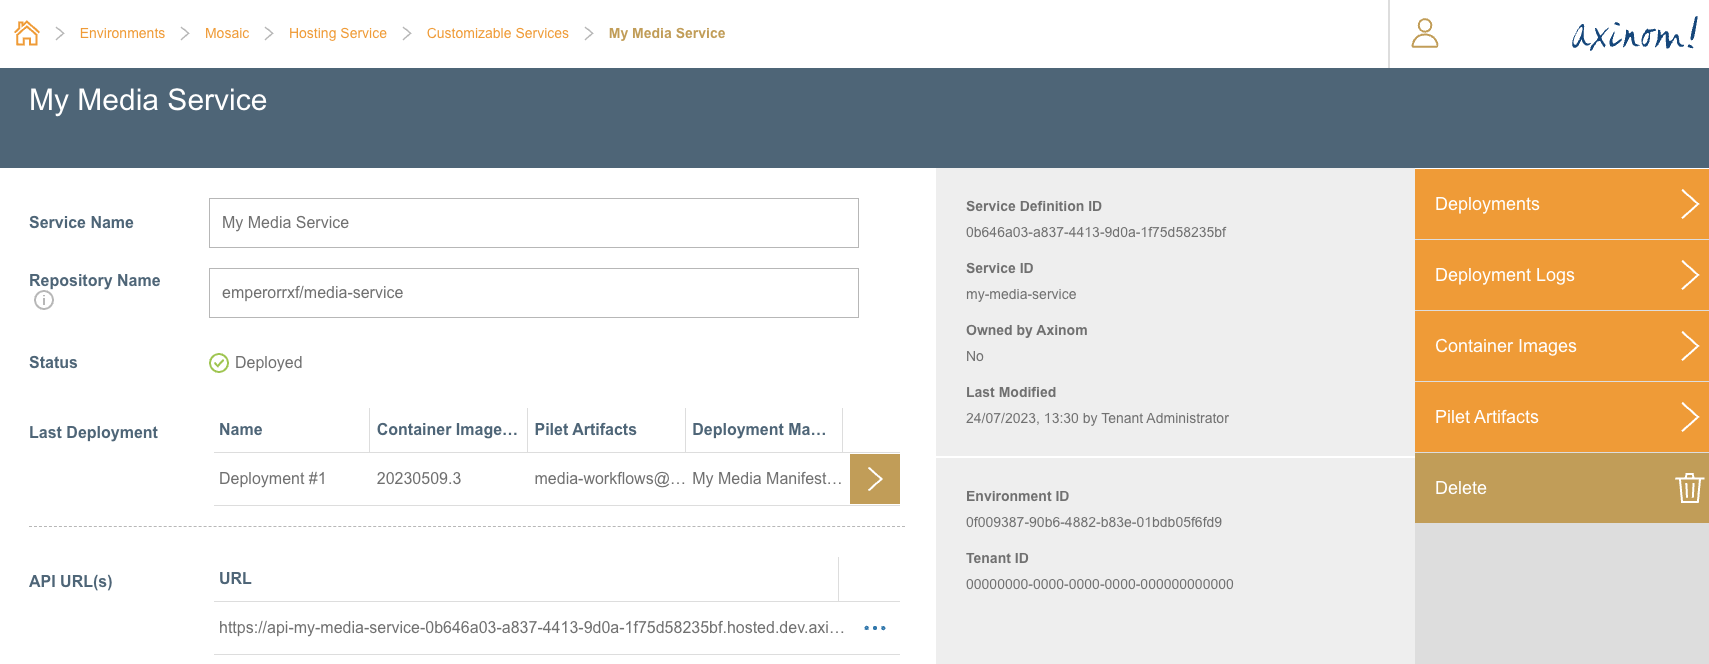
When the deployment is completed successfully, the Customizable Services Details station would look like below, with all deployment details.
It would also contain the API URLs, which can be used to access the service backend.
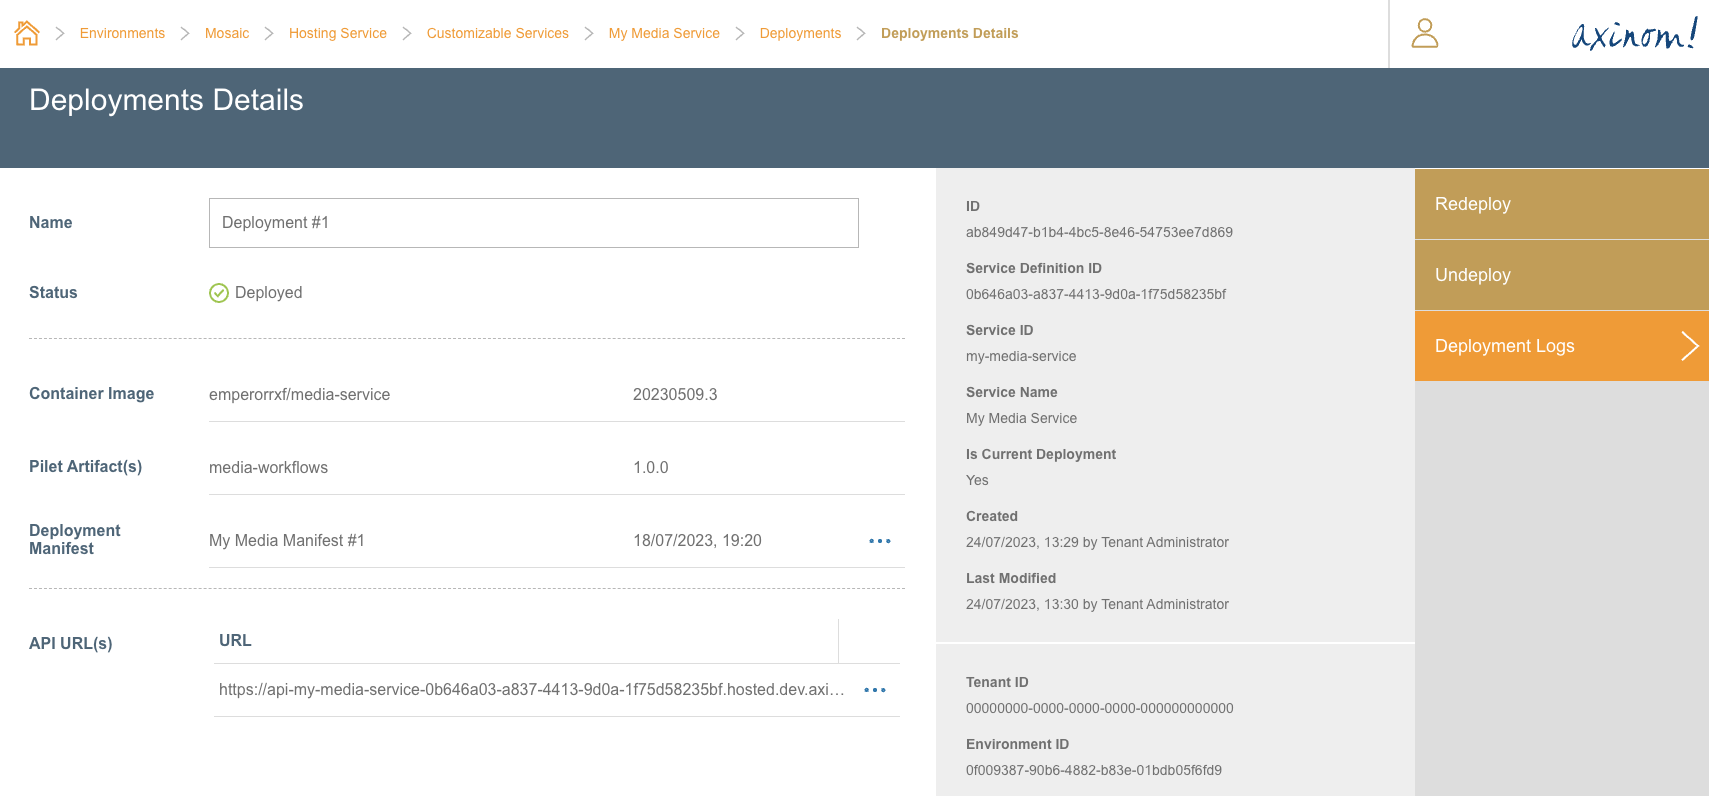
The same information can be found when the user navigates to the Deployment Details station for the respective deployment.
Additionally, if any Pilets were defined for the deployment, the Management System users should now be able to see the respective Micro-frontends loaded.
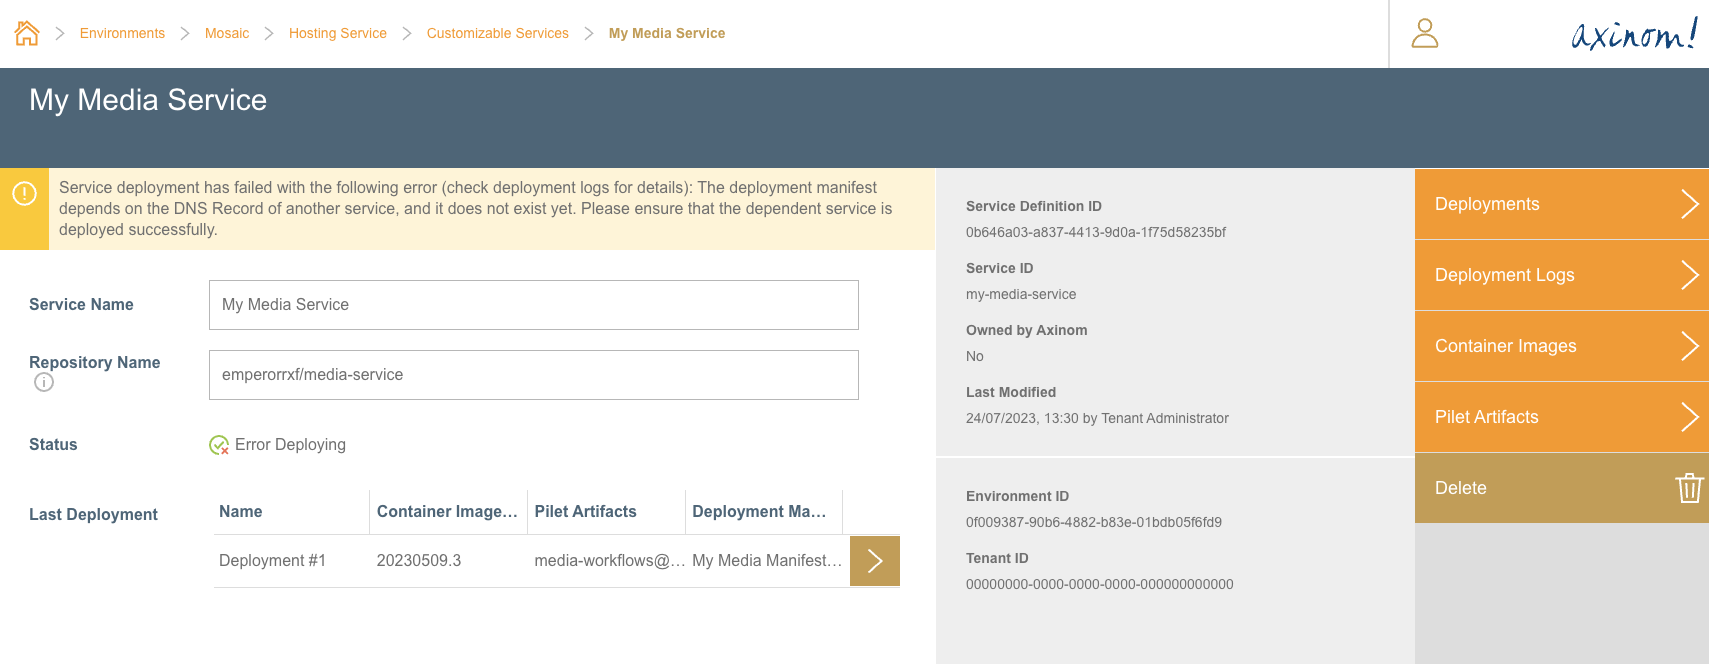
When the Deployment Fails
If, for some reason the deployment fails, the Customizable Services Details station would look like below, suggesting the user to go through the Deployment Logs to find out more details on why the deployment failed.
Redeploying and Undeploying a Service
The Administration Portal allows redeployment and undeployment of a service once it is deployed successfully.
This can be done using Deployment Details station by navigating to the respective deployment through Deployment Explorer station.
Here, the user can find options for Redeploying and Undeploying the service.
Please note that these two options will only be available for active
deployments. Look for the Is Current Deployment property in the Info Panel.
The active deployments will have the value Yes.
Any errors occurred while redeploying or undeploying can also be viewed through the Deployment Logs station.