Configure a Managed IDP Connection (External)
The User Service allows Mosaic customers to enable user authentication via Managed and Custom IDPs. This document describes the steps to configure a Managed IDP for end-user authentication.
Basic configuration for the User Service
The User Service can be enabled and configured for any environment through the Environment Administration Portal.
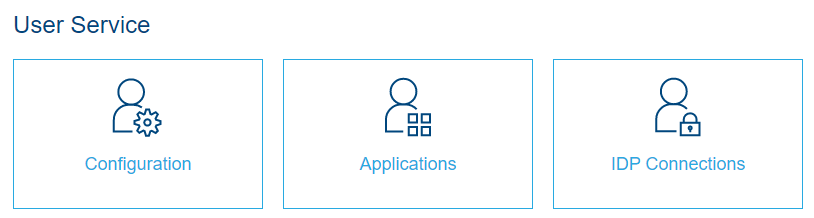
Figure 1 shows you the configuration options for User service in the Service Configuration station.
Setting up an IDP Connection
The first step would be to set up a new IDP Connection using a managed provider. As of now, Mosaic User service supports the following ID providers as Managed IDPs.
-
Google
-
Apple
-
Facebook
Click on the IDP Connections tile from the User Service Configuration options (Figure 1). That will take you to the IDP Connections explorer station. Click on the New button on the top right corner.
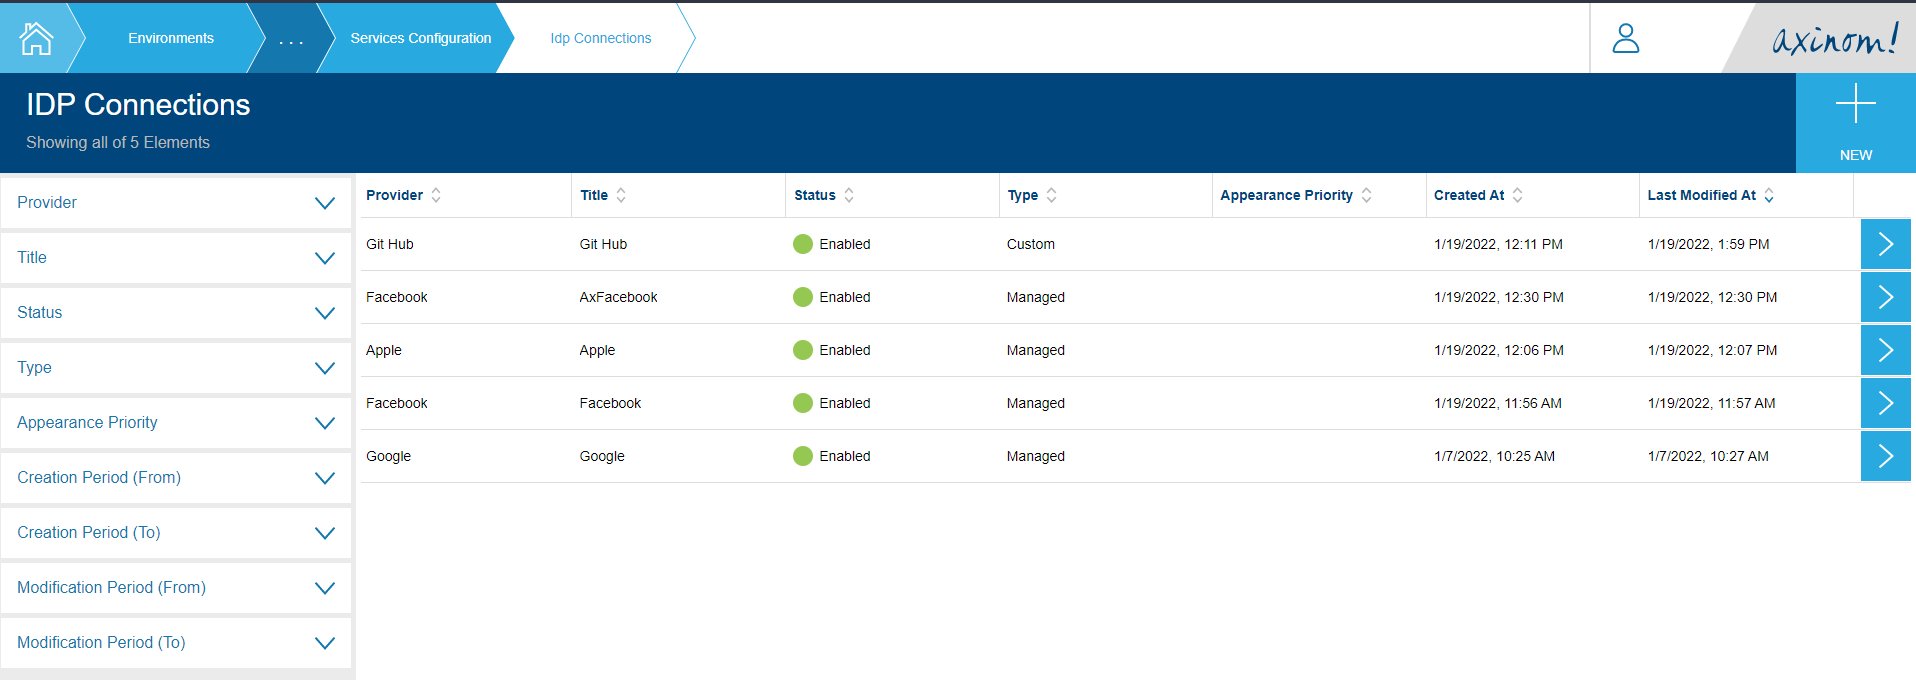
You will get a screen similar to the following.

The drop down list for Provider will list down the Managed IDPs. From this list of Managed ID Providers, AxAuth serves the special purpose of enabling user sign up for end-users, which is explained in the guide Authenticating with Ax-Auth IDP.
To continue, pick a Managed IDP from the list other than Ax-Auth and give a title for the new connection. Then click on proceed. Clicking on proceed will create a new IDP Connection with the given title for the selected ID Provider, and the required basic configuration will be filled by default.
When picked Google as the IDP, the IDP Connection Details screen looks something similar to the below screenshot.
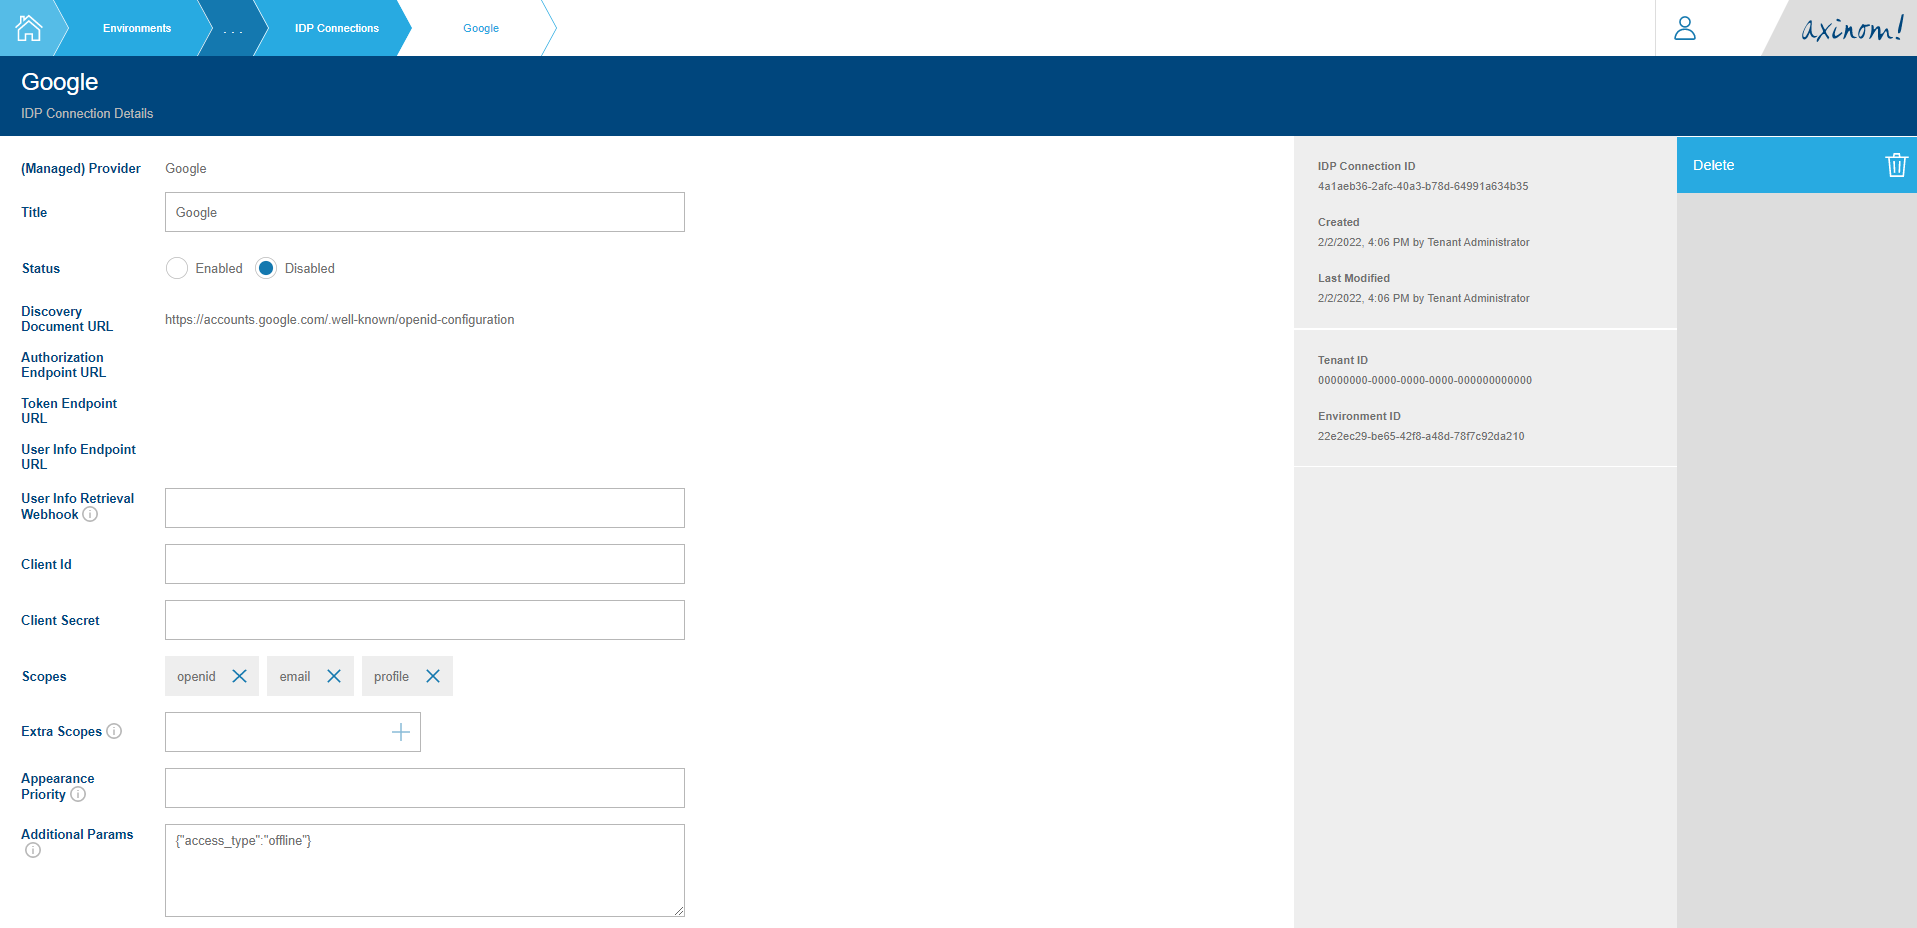
As Google supports Open ID Connect, the relevant Discovery Document URL along with the basic scopes openid, email and profile and an additional param called access_type is set. (More about these can be found in Google’s Signing in users with OIDC document.)
To complete the IDP Connection configuration, you need to set the Client ID and Client Secret values. Then set the status to Enabled.
Setting up an Application
The next step would be to define an Application and connect the IDP Connection we created in the previous section.
Click on Applications tile in the Service Configuration station. (Figure 1) You will be navigated to the Applications Explorer. Click on the New button on the top right corner.
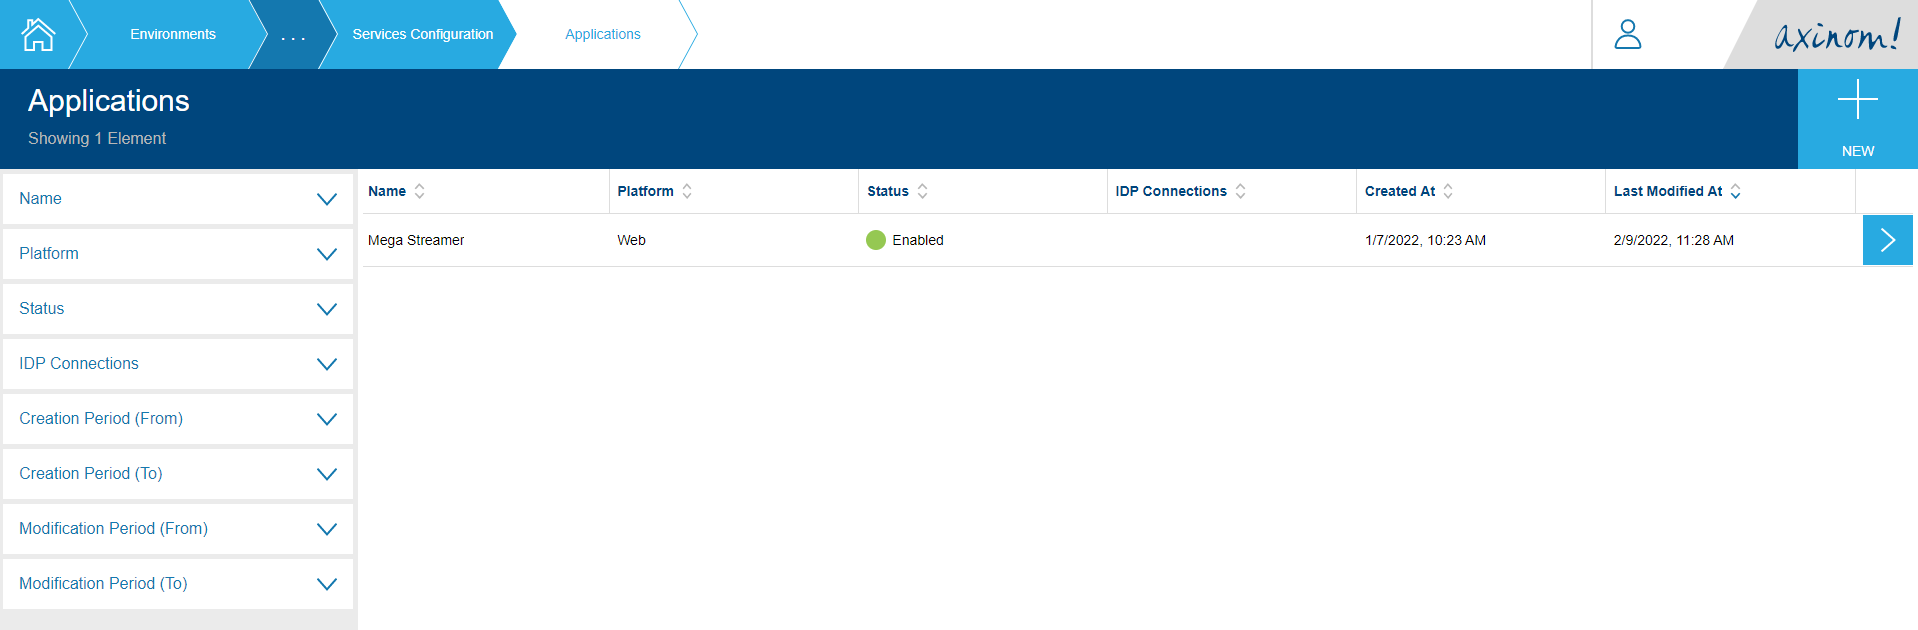
You will be navigated to the New Application station.

Give a name for your application and click on Proceed.
You will be navigated to the Application Details station which will contain details related to the application you created. A few fields are required to be filled here to make the Application usable.
-
Allowed Origins - The base URI from which your end-user application will be making requests for the User Service Authentication API must be listed here. This is for the purpose of whitelisting these URIs from CORS policies. Only the base URI must be added in the format <scheme>://<full-domain>. For example: https://app.ottstream.com.
-
Allowed Proxy URLs - The User Service Authentication API will be running behind a proxy (i.e. https://id.ottstream.com) such that the top-level domain name matches that of the 'Allowed Origins' mentioned above. These Proxy URLs must be whitelisted in order for requests to pass-through.
After setting the Allowed Origins and Allowed Proxy URLs, set the status of the Application to Enabled. We do not need the Application Key and Access Token Enrichment Token at this point.

Connecting an IDP Connection to the Application
Now that we have an Application configured, the next task is to connect the IDP connection we created in an above section to the Application.
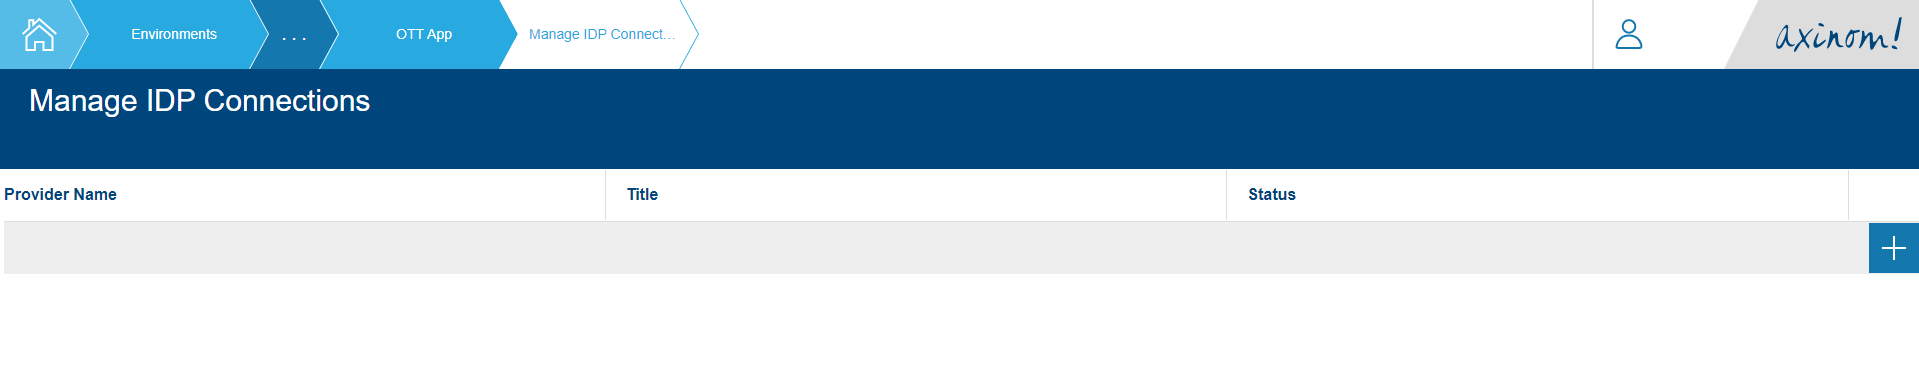
For this, click on the Manage IDP Connections action on the top of the actions list. This will take you to the Manage IDP Connections station. It will have an empty table with a plus sign (+).
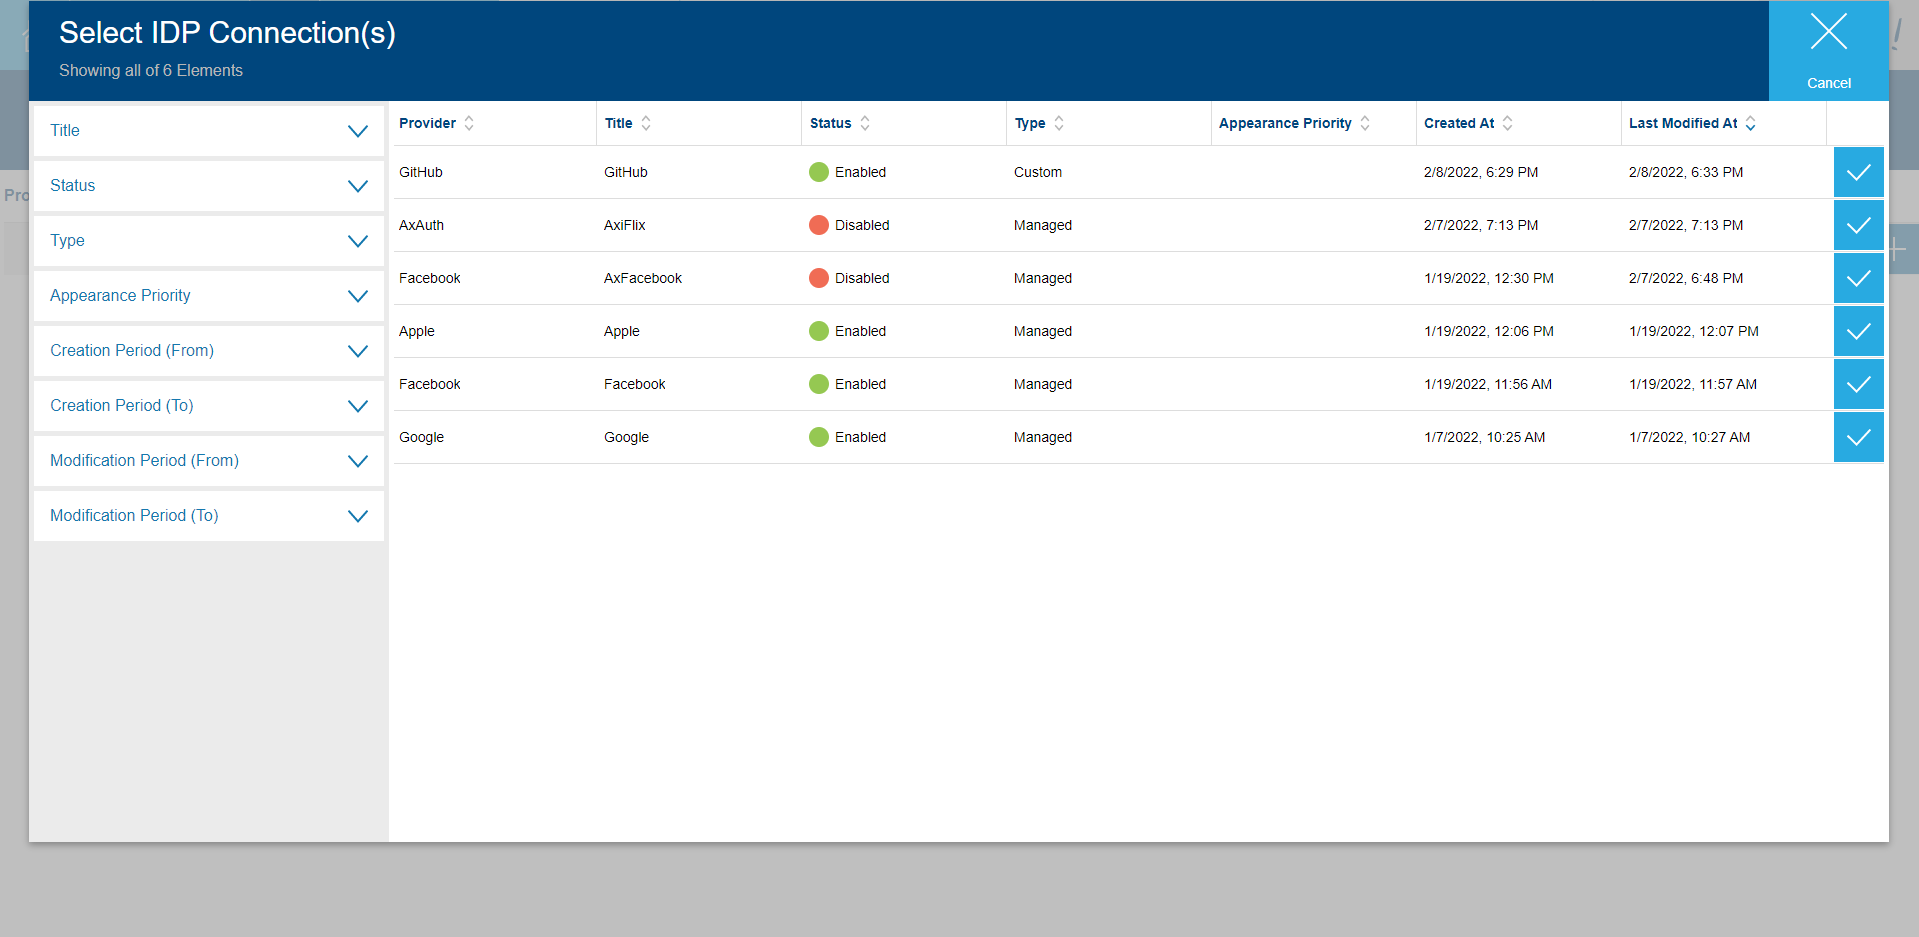
Click on the plus sign which will bring you a list of available IDP Connections that can be connected to the application. The IDP Connection you created before named GitHub should be visible here.
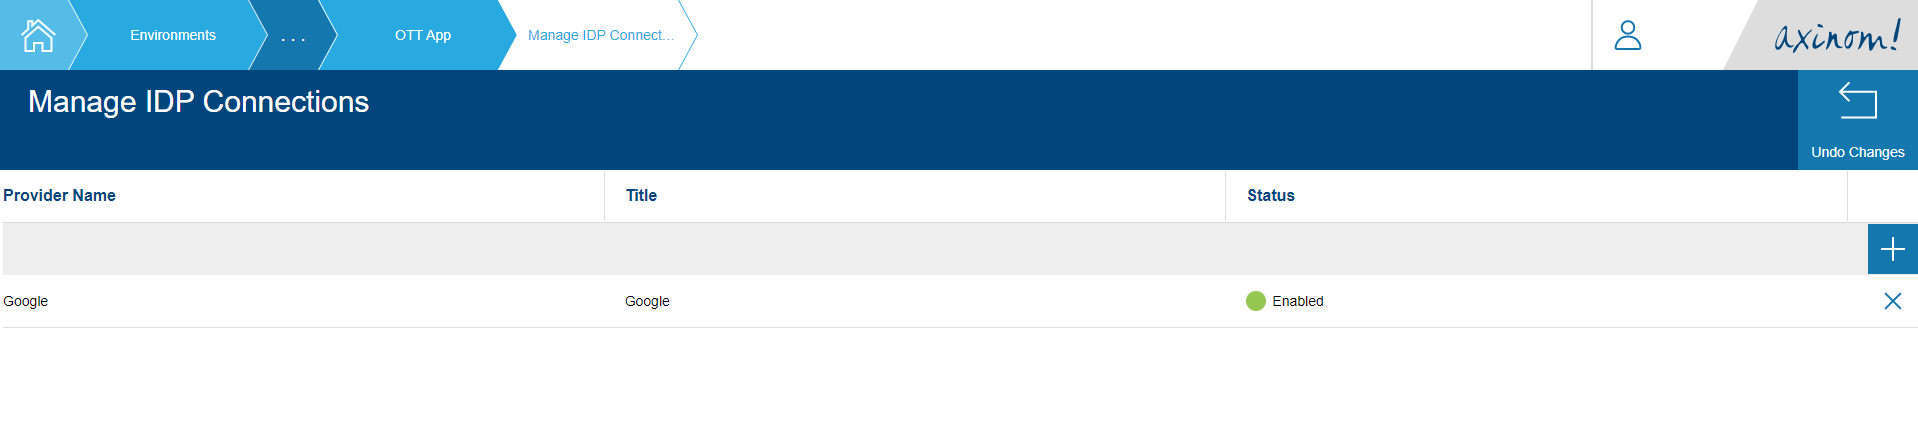
Click on the row, and it you will be navigated back to the Manage IDP Connections station with the new row added.
All required configuration and data set up that needs to be done in the Environment Administration Portal is now complete.